
KOMP
Overview
The organization that owns KOMP administers its environment as the admin. It can configure the integration experience, prepare reusable templates, and provision customer access.
Customers can use KOMP through an embedded iframe or as an integration experience within the KOMP owner’s product.
Getting Started
Create the account, select its primary app, create an RSA token, activate the apps you need, and add your customers.
Create the account
Create the KOMP account using the account-creation APIs provided by Konnectify.
Select a primary application
After account creation, the admin selects the organization’s primary app.
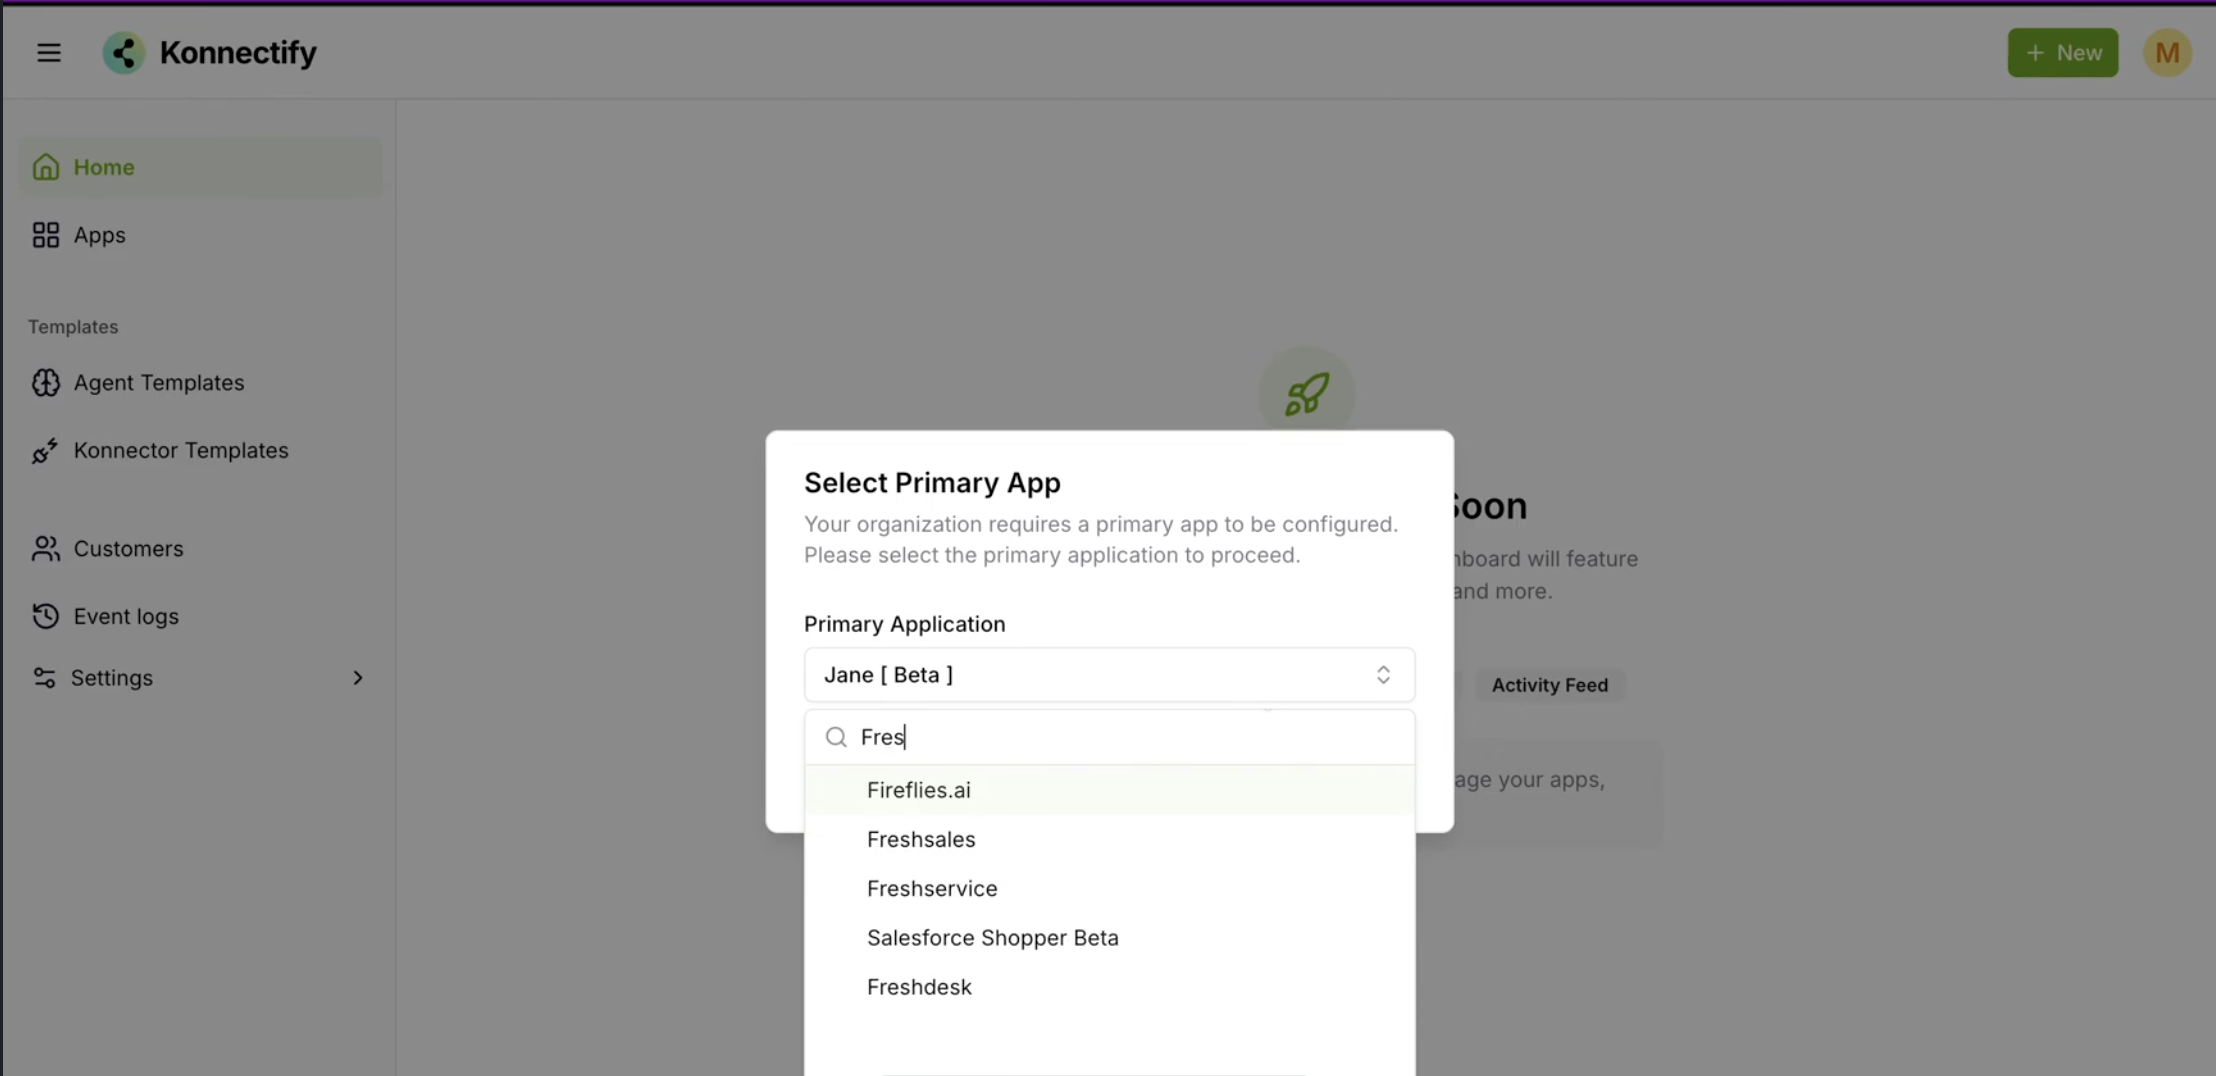
Select the primary application for the KOMP organization.
Create an RSA token
Select New at the top right, choose RSA Token, name the token, and create it. This token lets the admin access KOMP functionality.
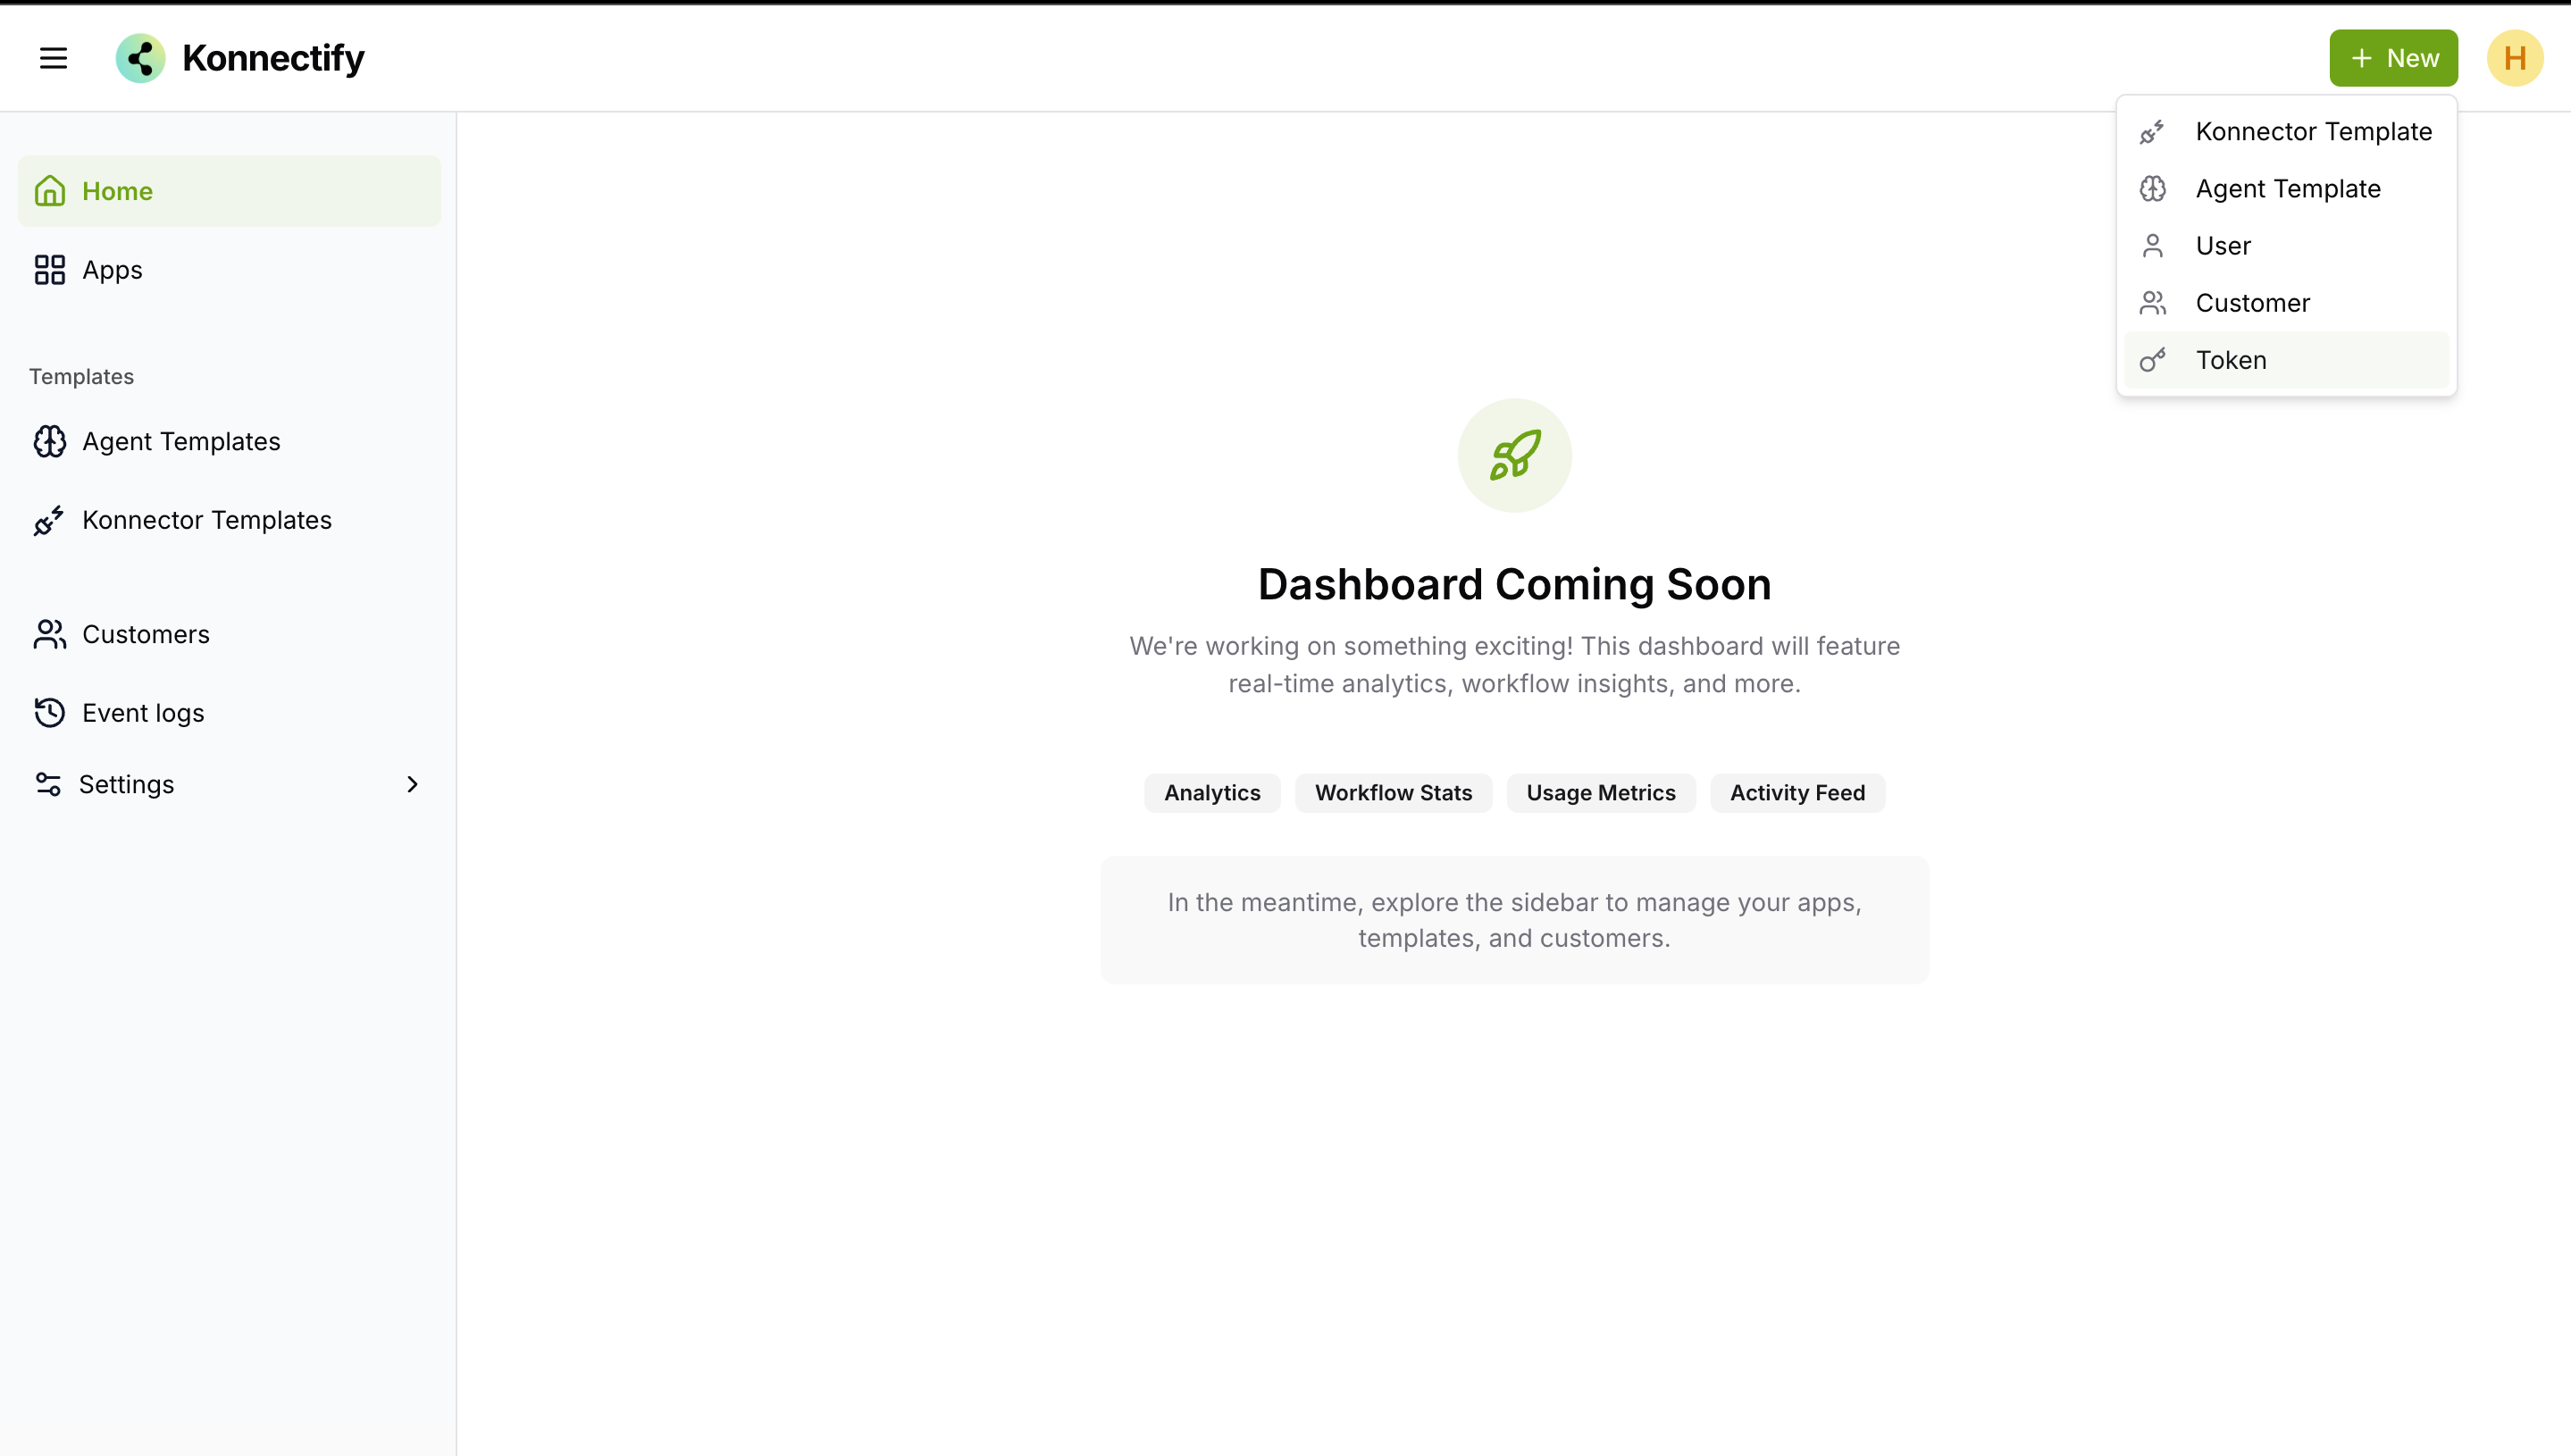
Choose RSA Token from the New menu.
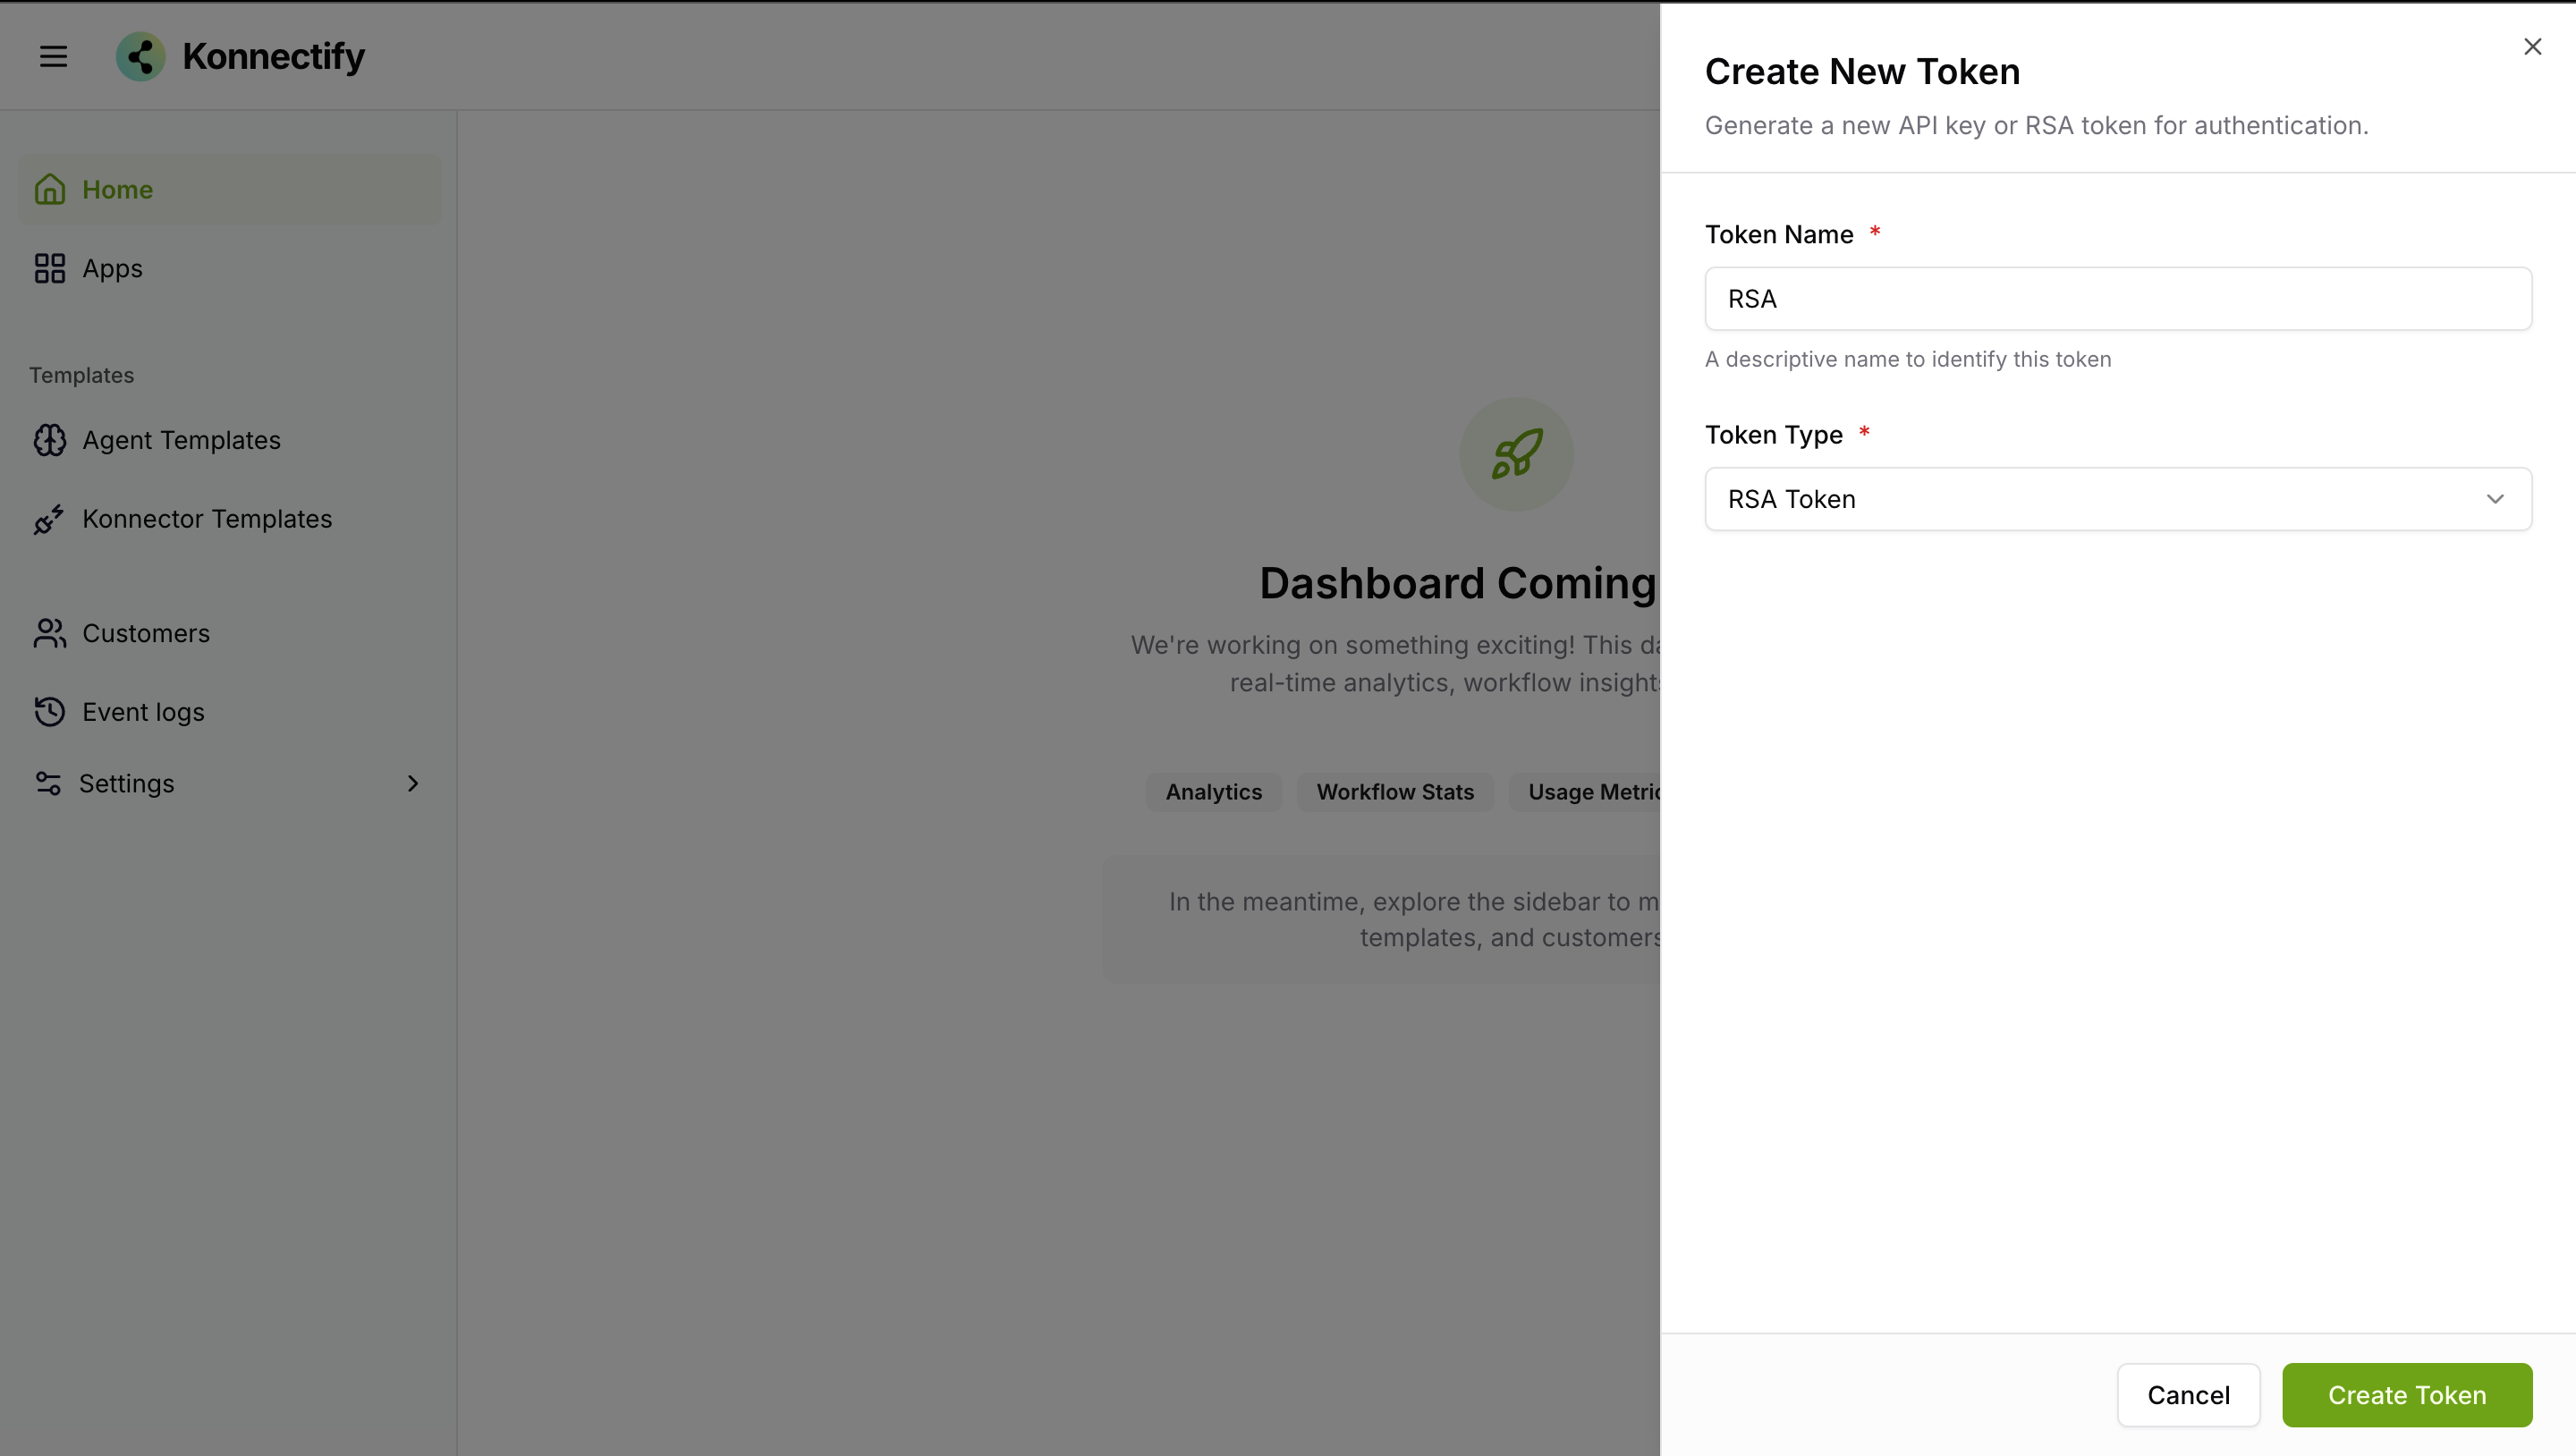
Name the token and create it.
Activate apps and add credentials
Open Apps, activate the applications you plan to use, and enter the required credentials to authorize each app.
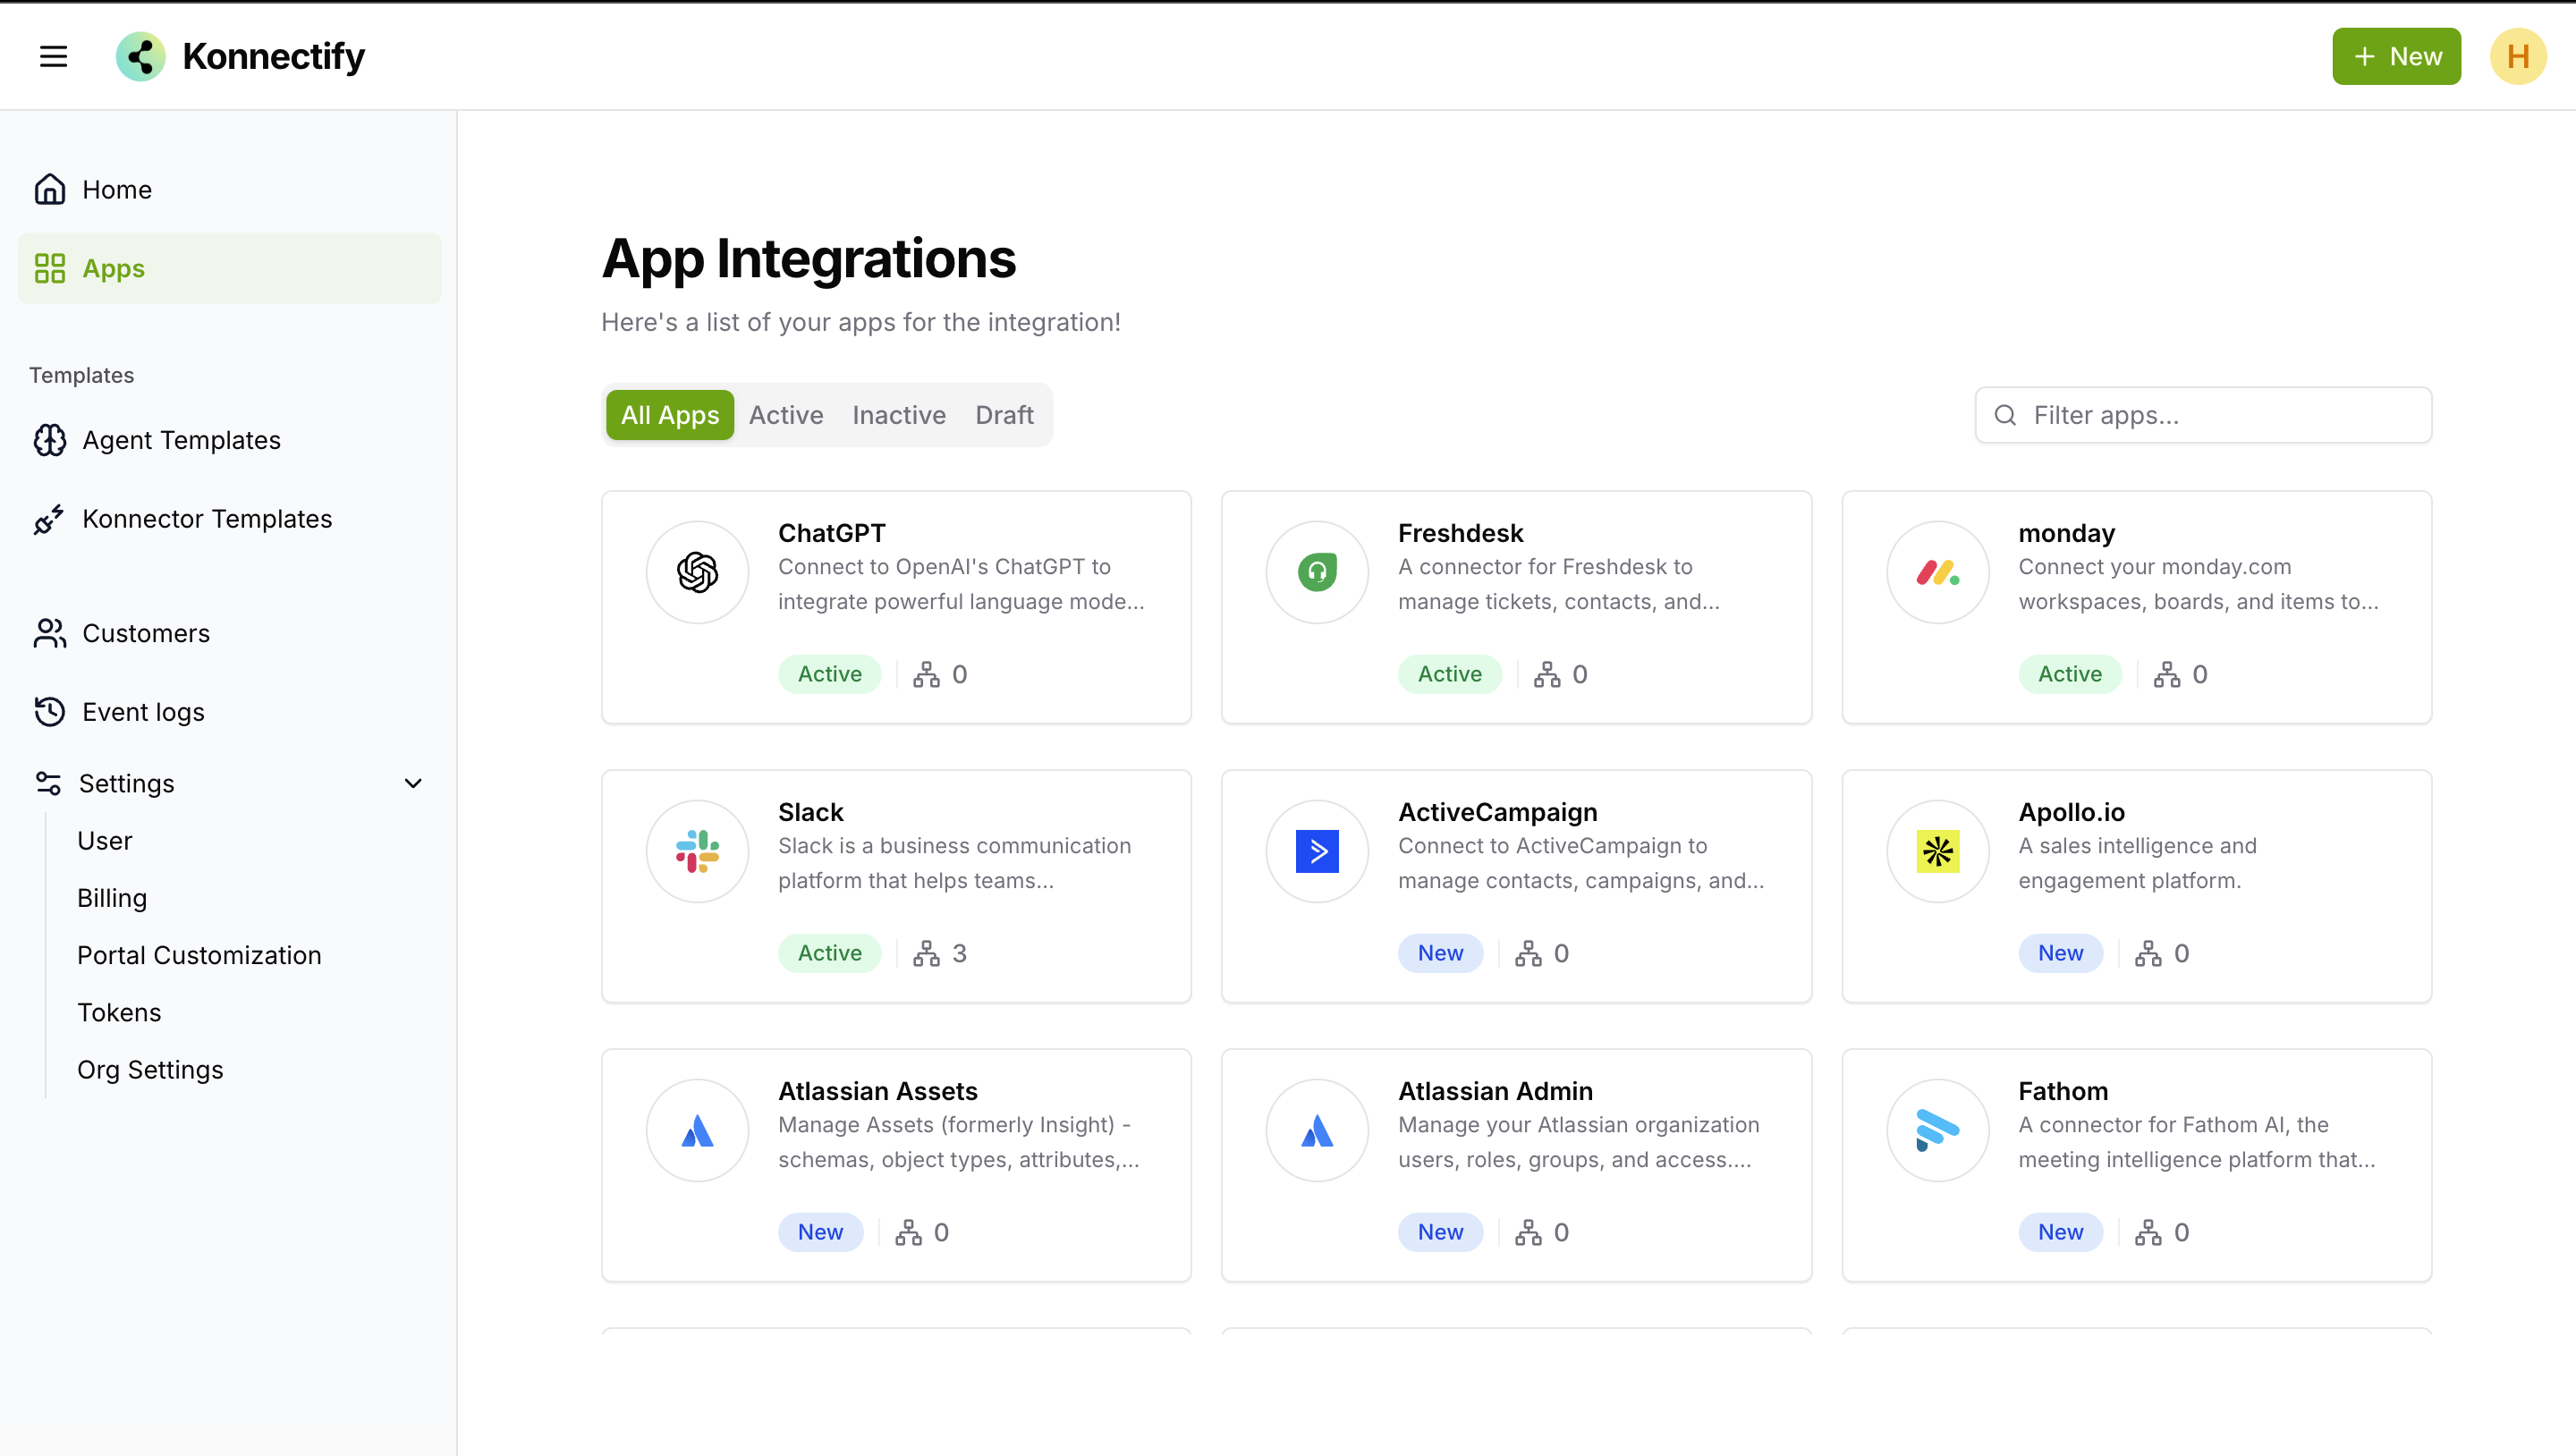
Enter the credentials needed to connect an application.
Create customer accounts
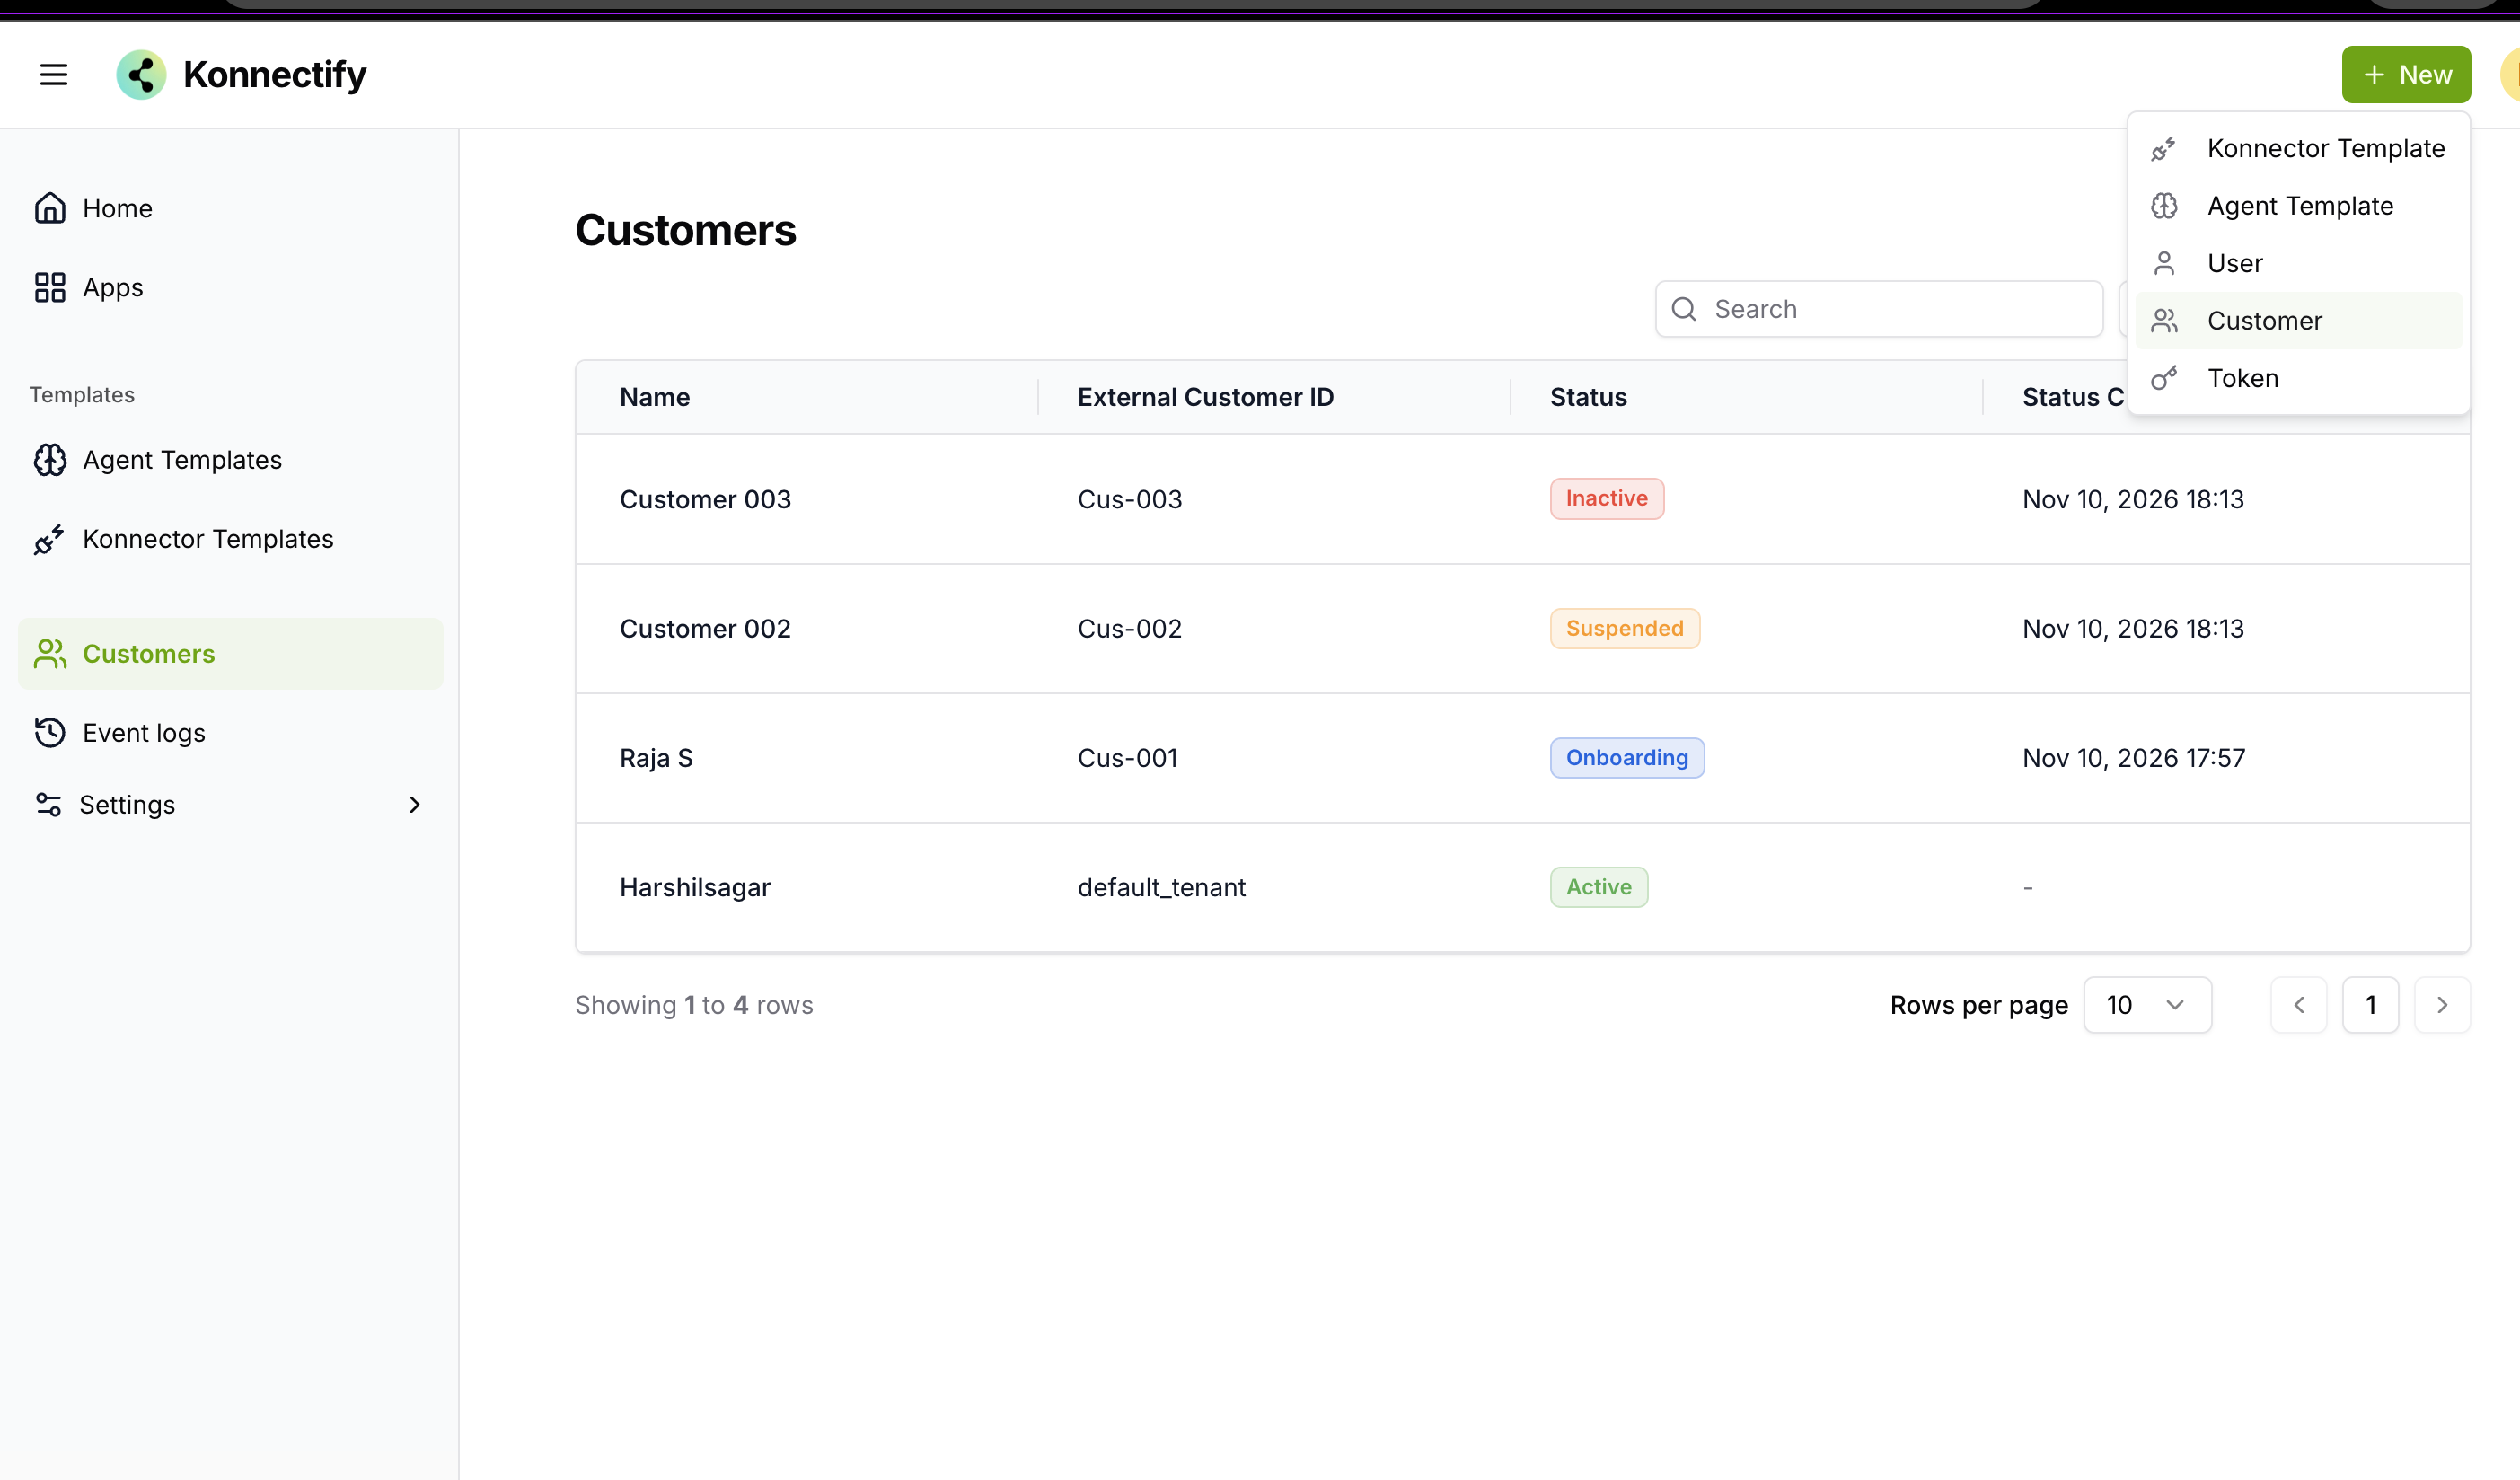
From Customers, select New and create the customer accounts that will use the integration experience.
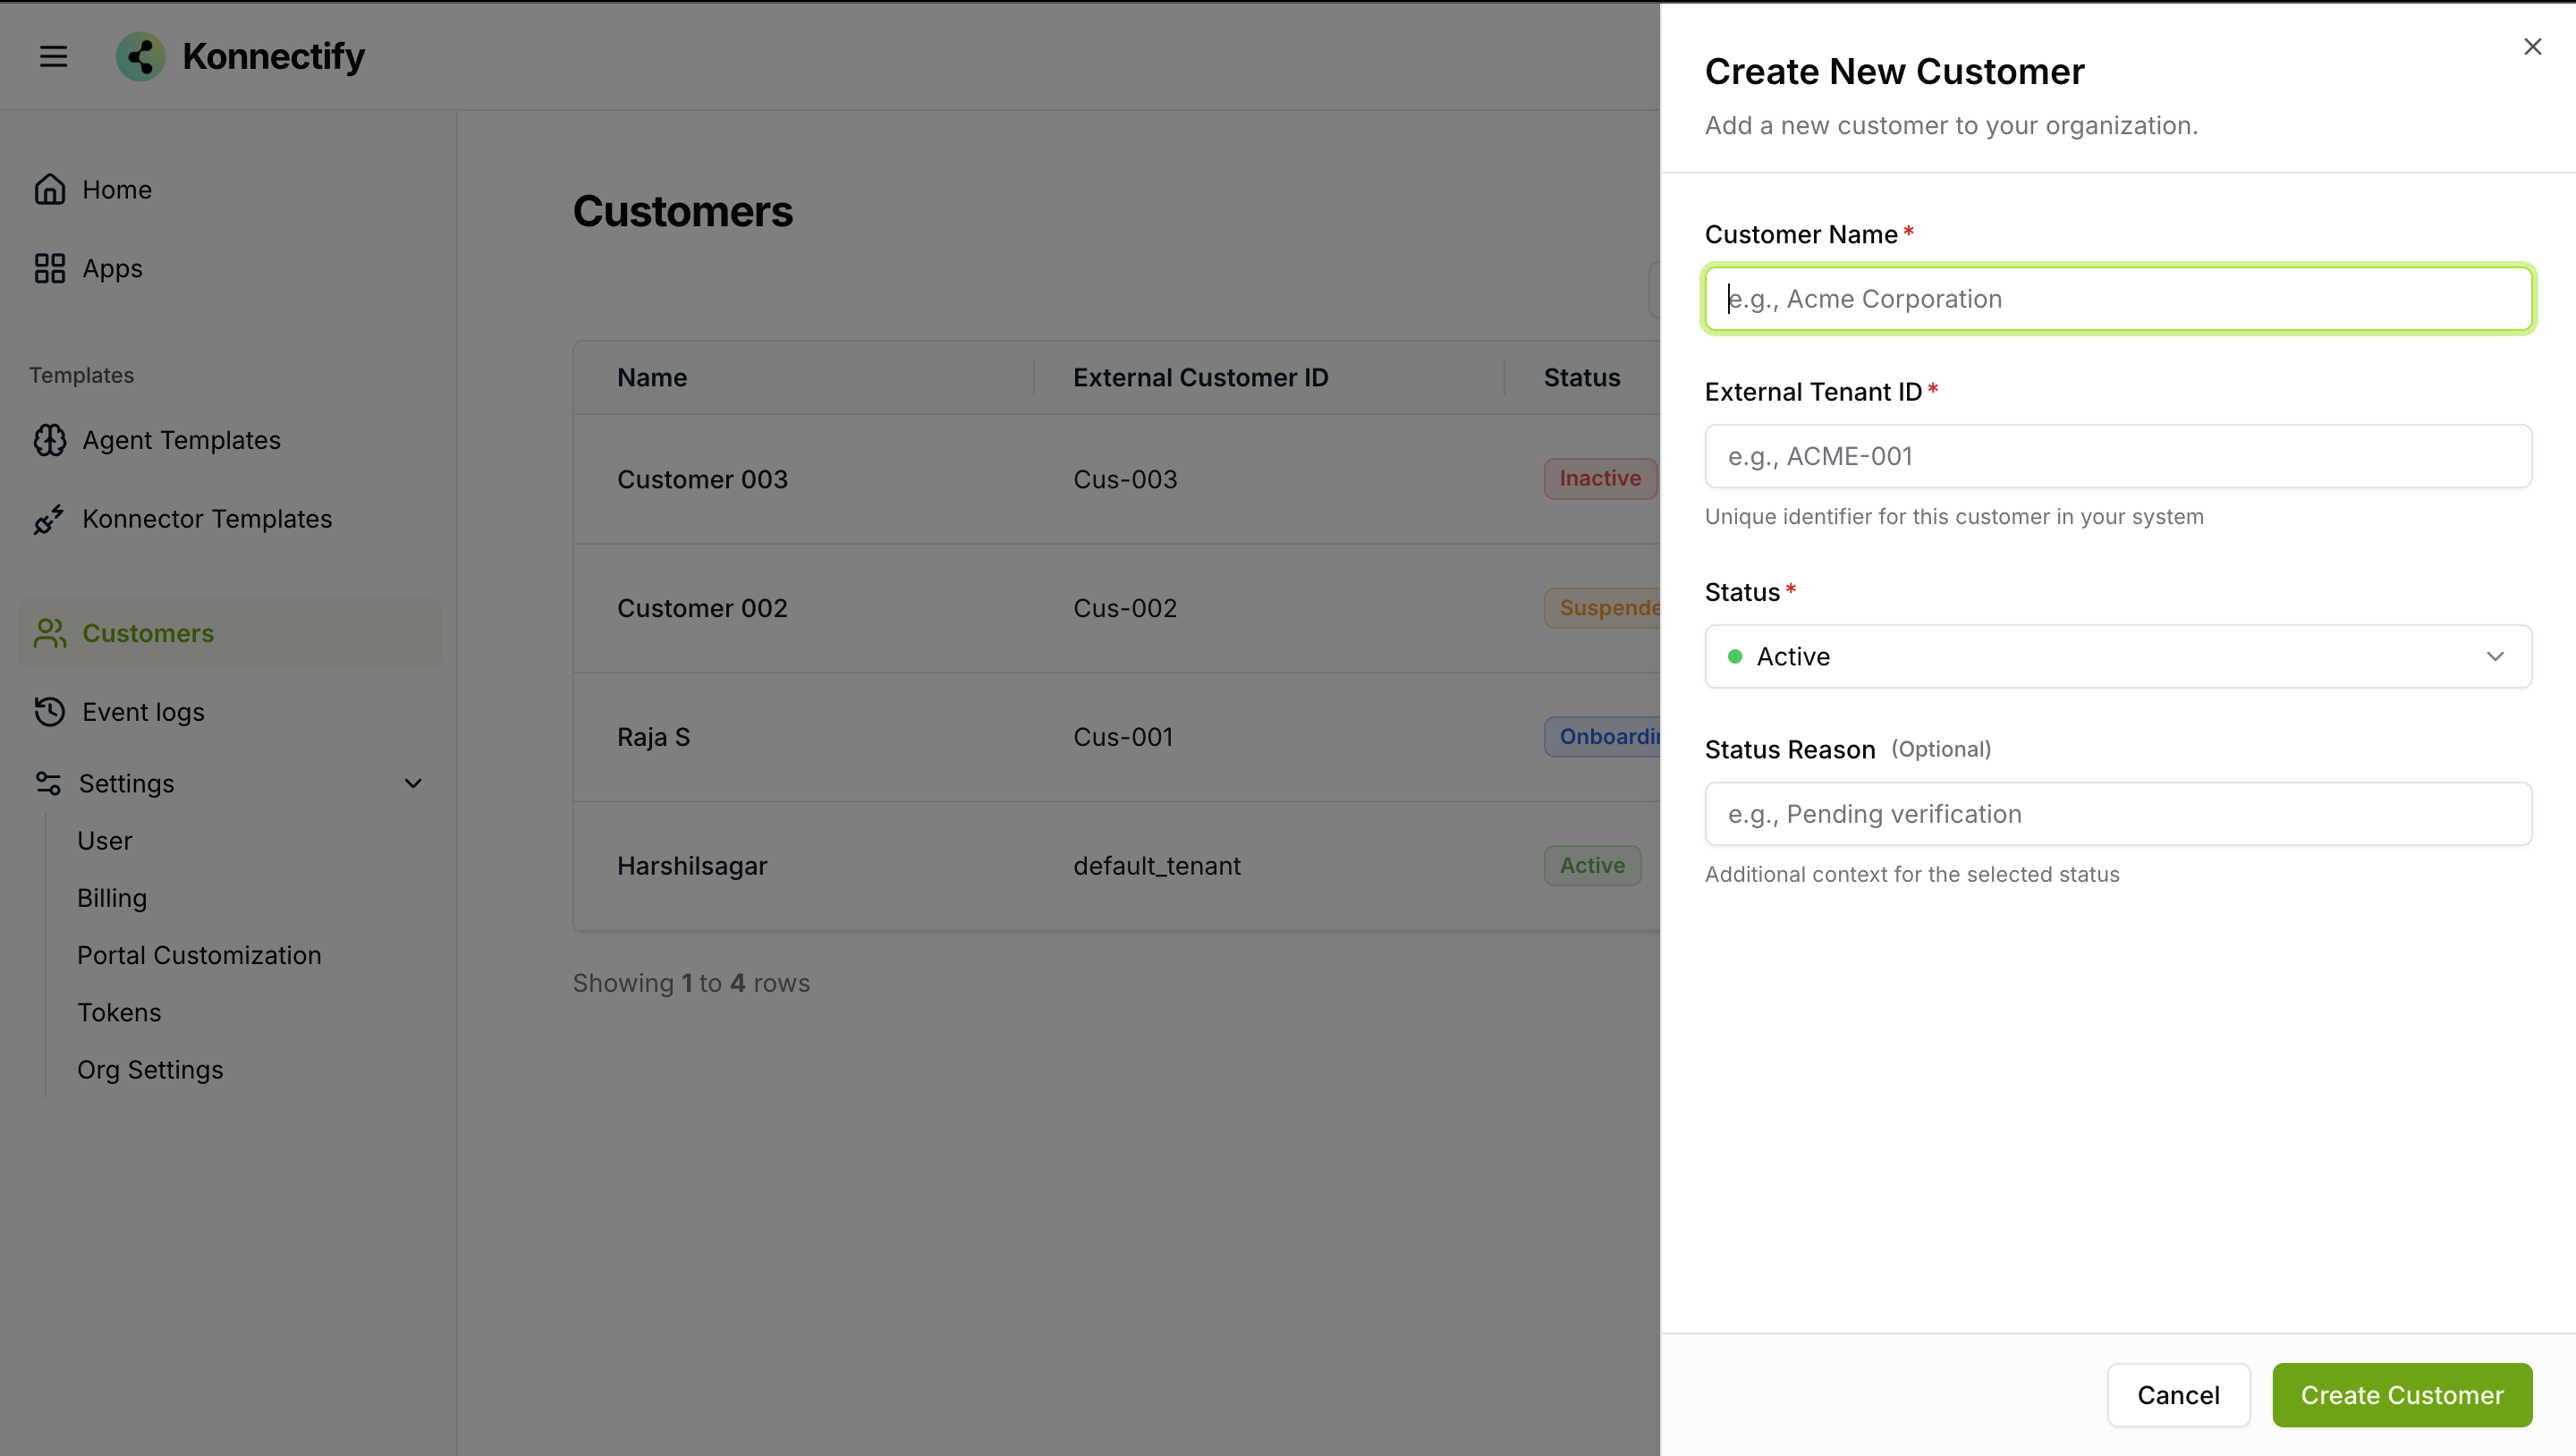
Create a customer from the New menu.
Modules
Use these modules to manage connected apps, templates, customers, execution history, and account settings.
Apps
Browse marketplace apps for AI agents and integration workflows. Activate the apps you need and provide their credentials.
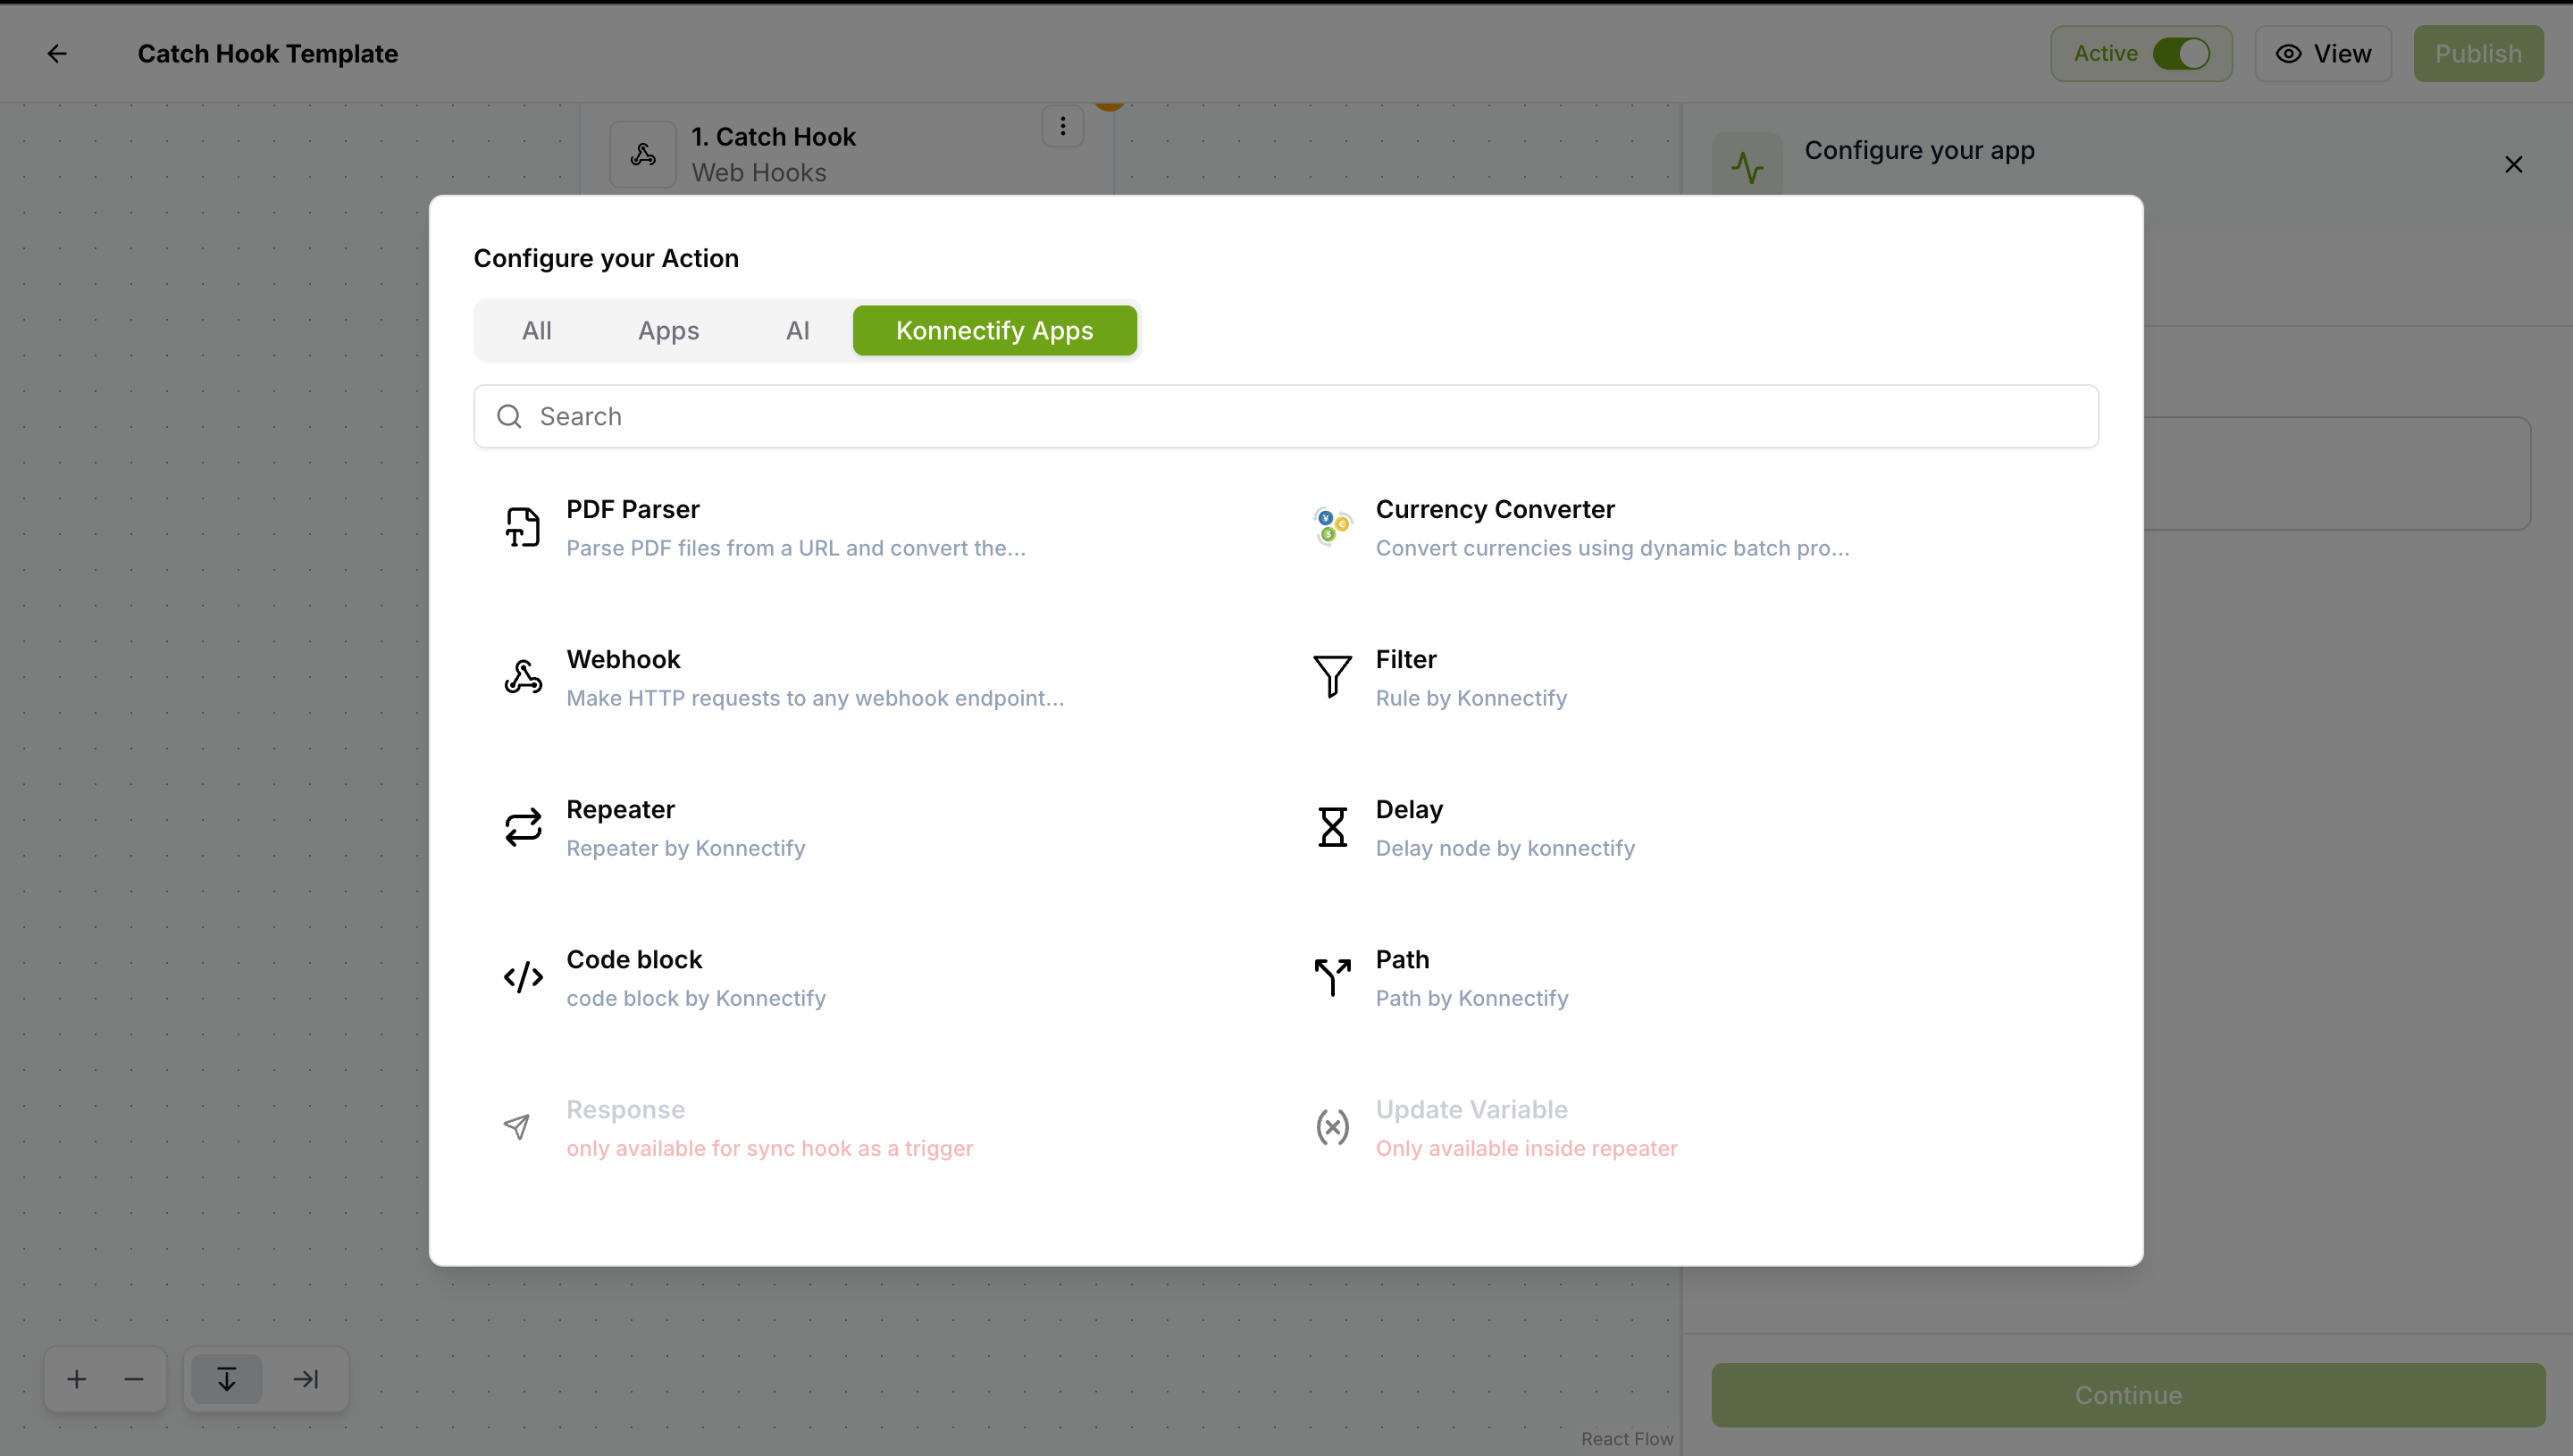
Agent templates
Configure reusable AI agent templates. The admin publishes and activates a template for customers. Customers connect their accounts, review or adjust the setup, then turn it on. They can also create custom templates.
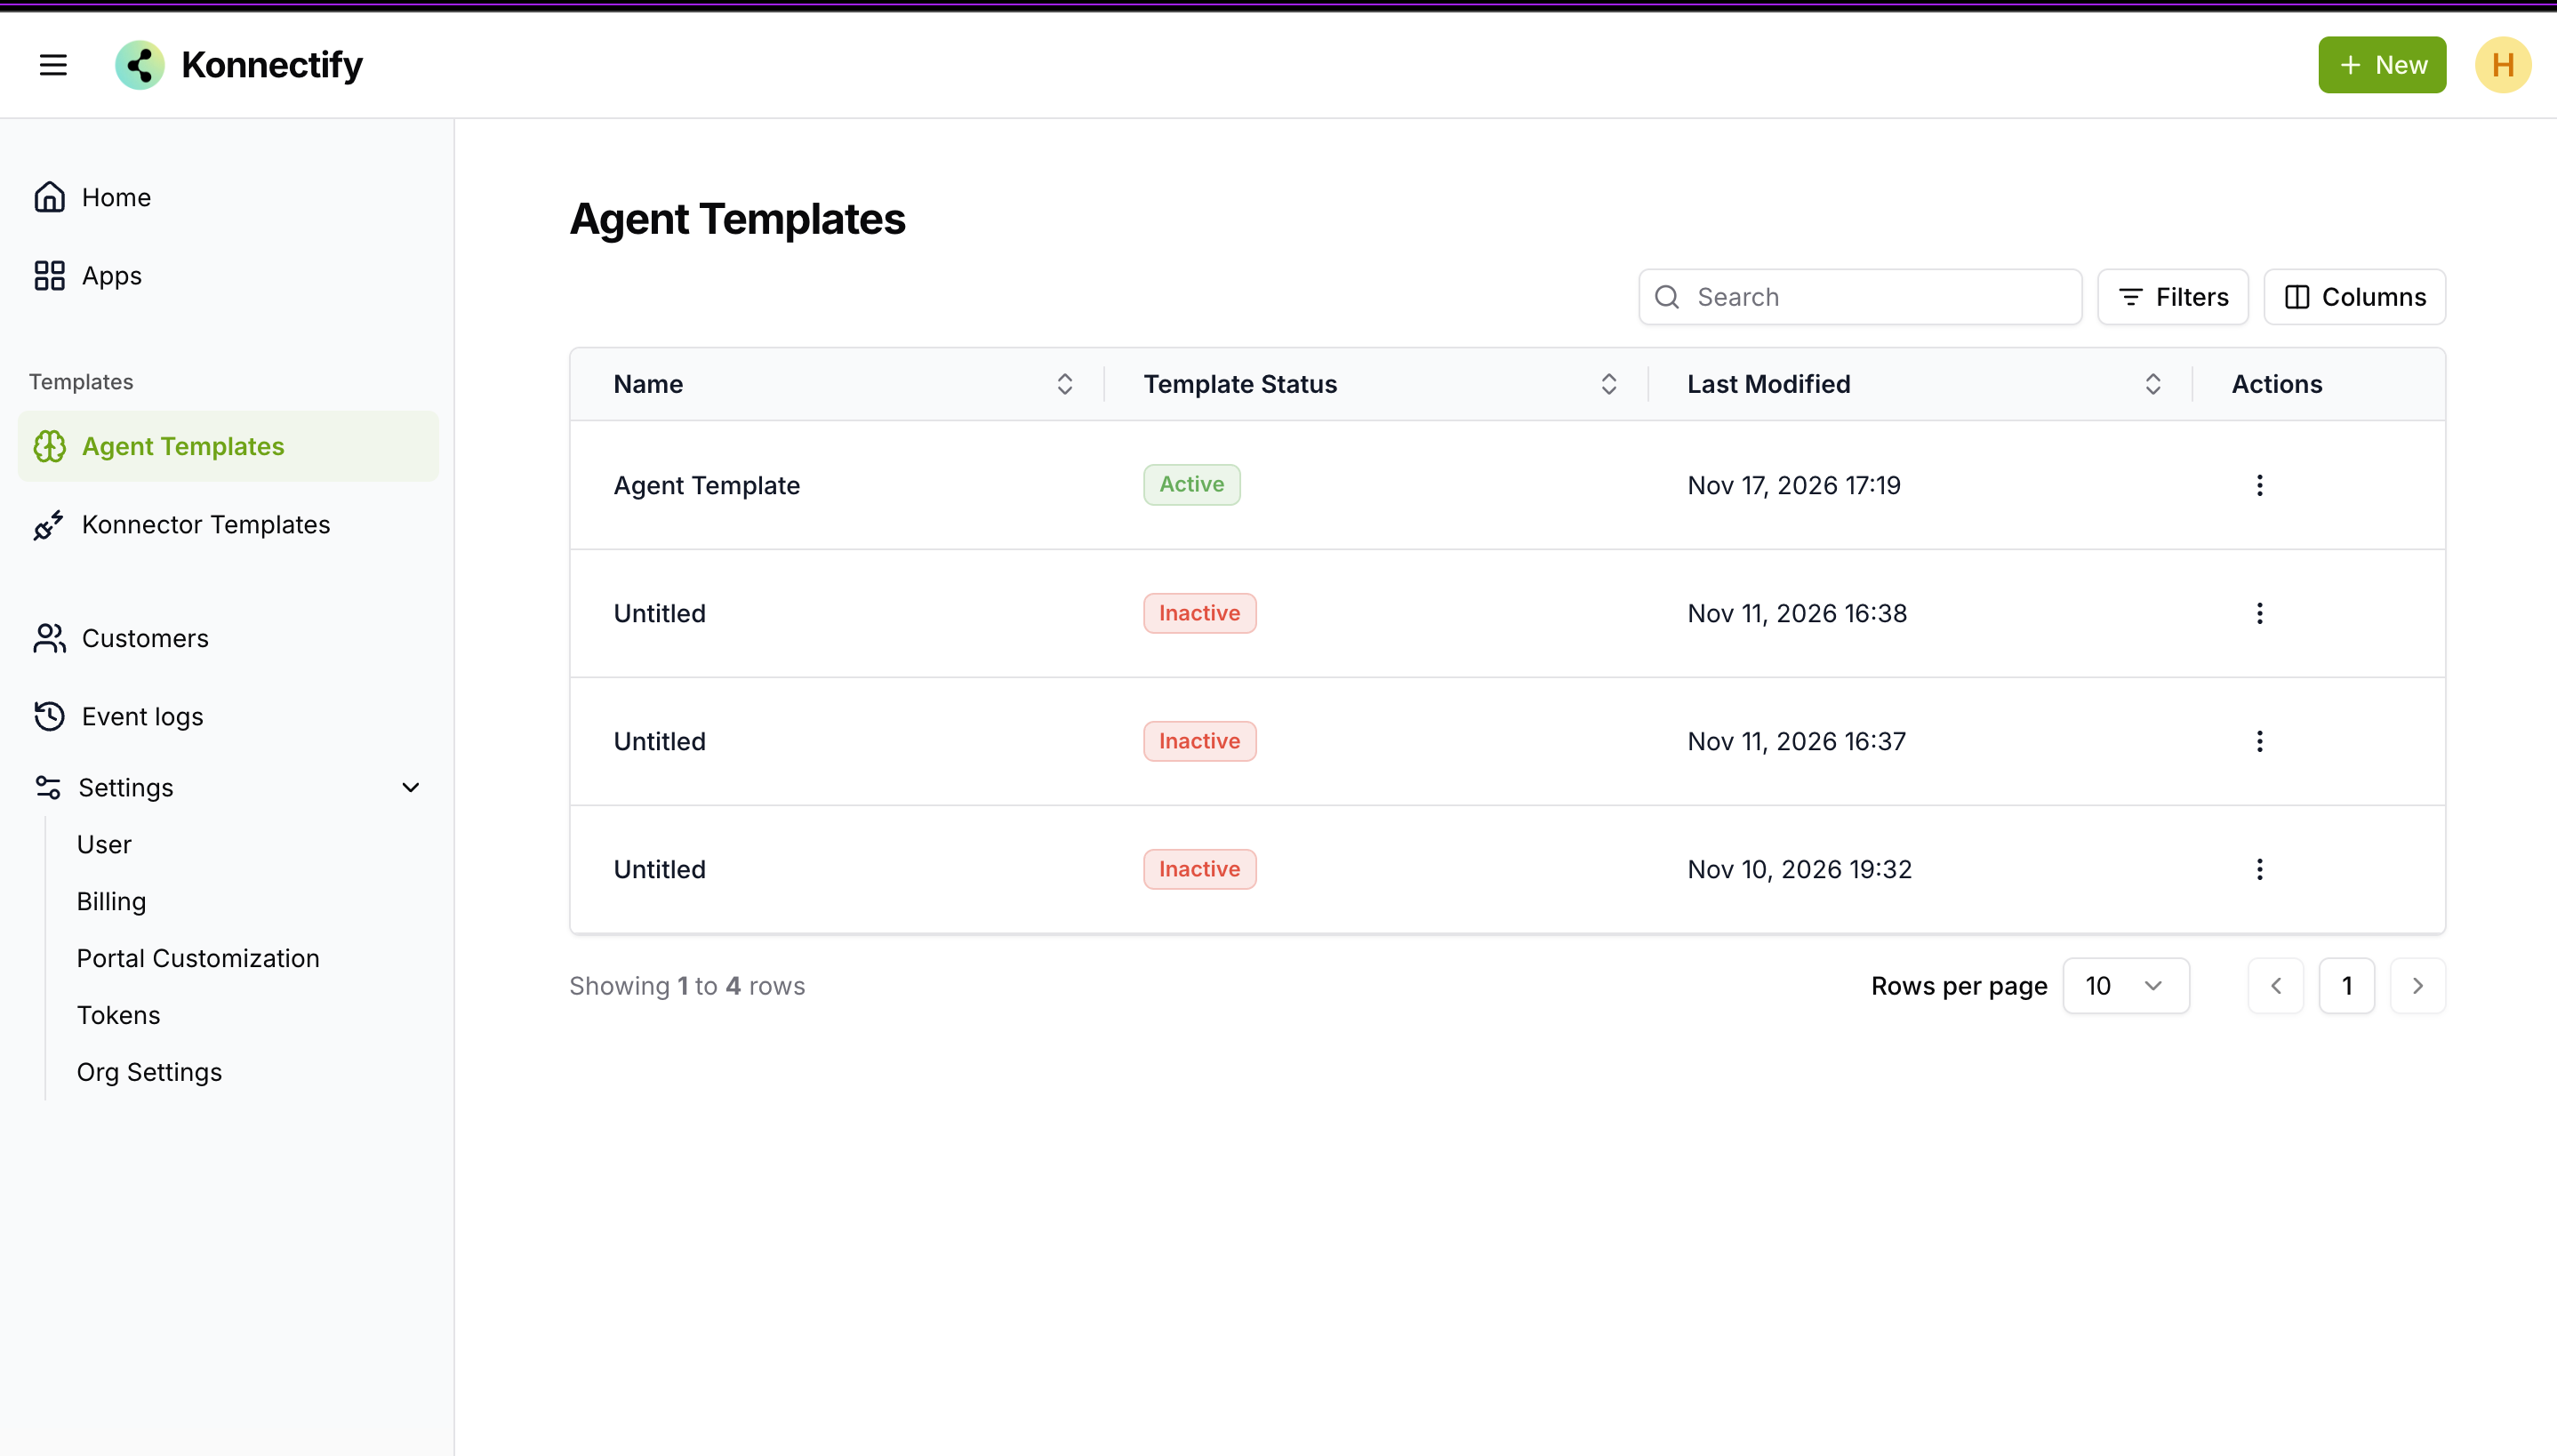
Konnector templates
Configure, publish, and activate reusable workflows for customers. Customers connect their accounts, review and adjust a template if needed, then turn it on. They can also create custom templates.
Workflows can use marketplace apps and Konnectify tools such as webhooks, repeaters, delay, paths, filters, code blocks, and PDF Parser.
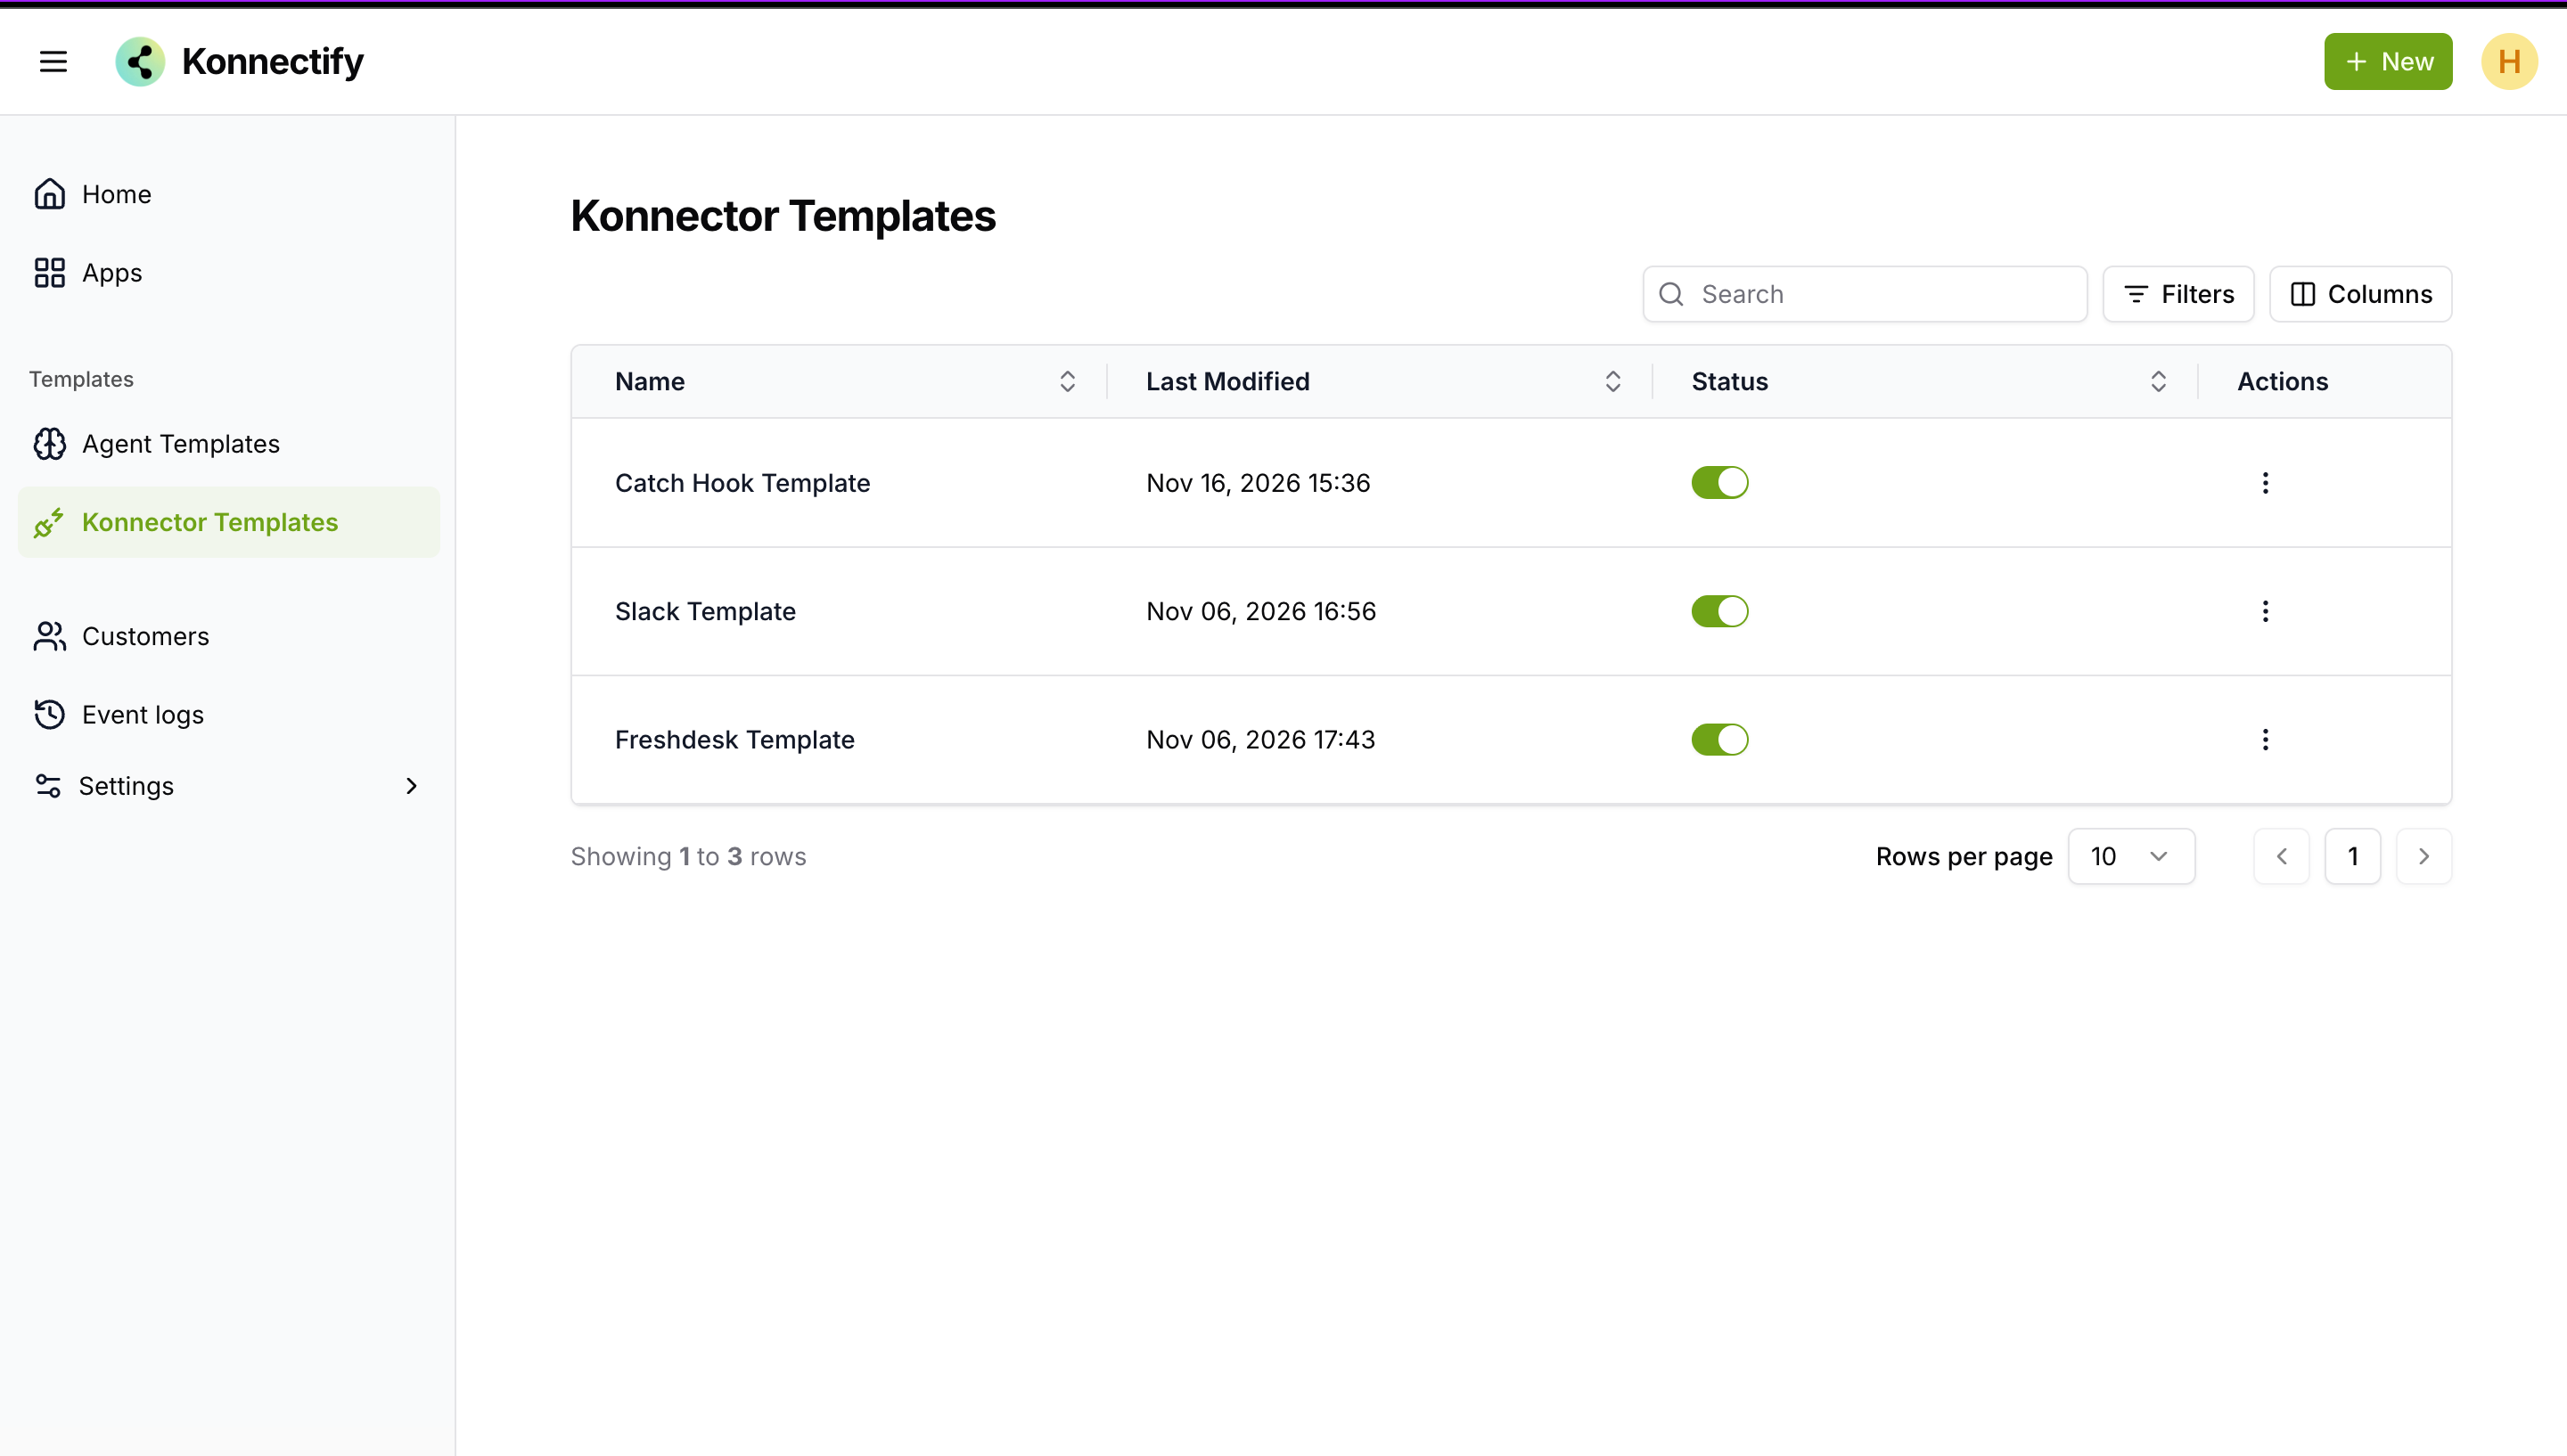
Customers
Create and manage customer accounts that receive access to your KOMP-powered integrations.
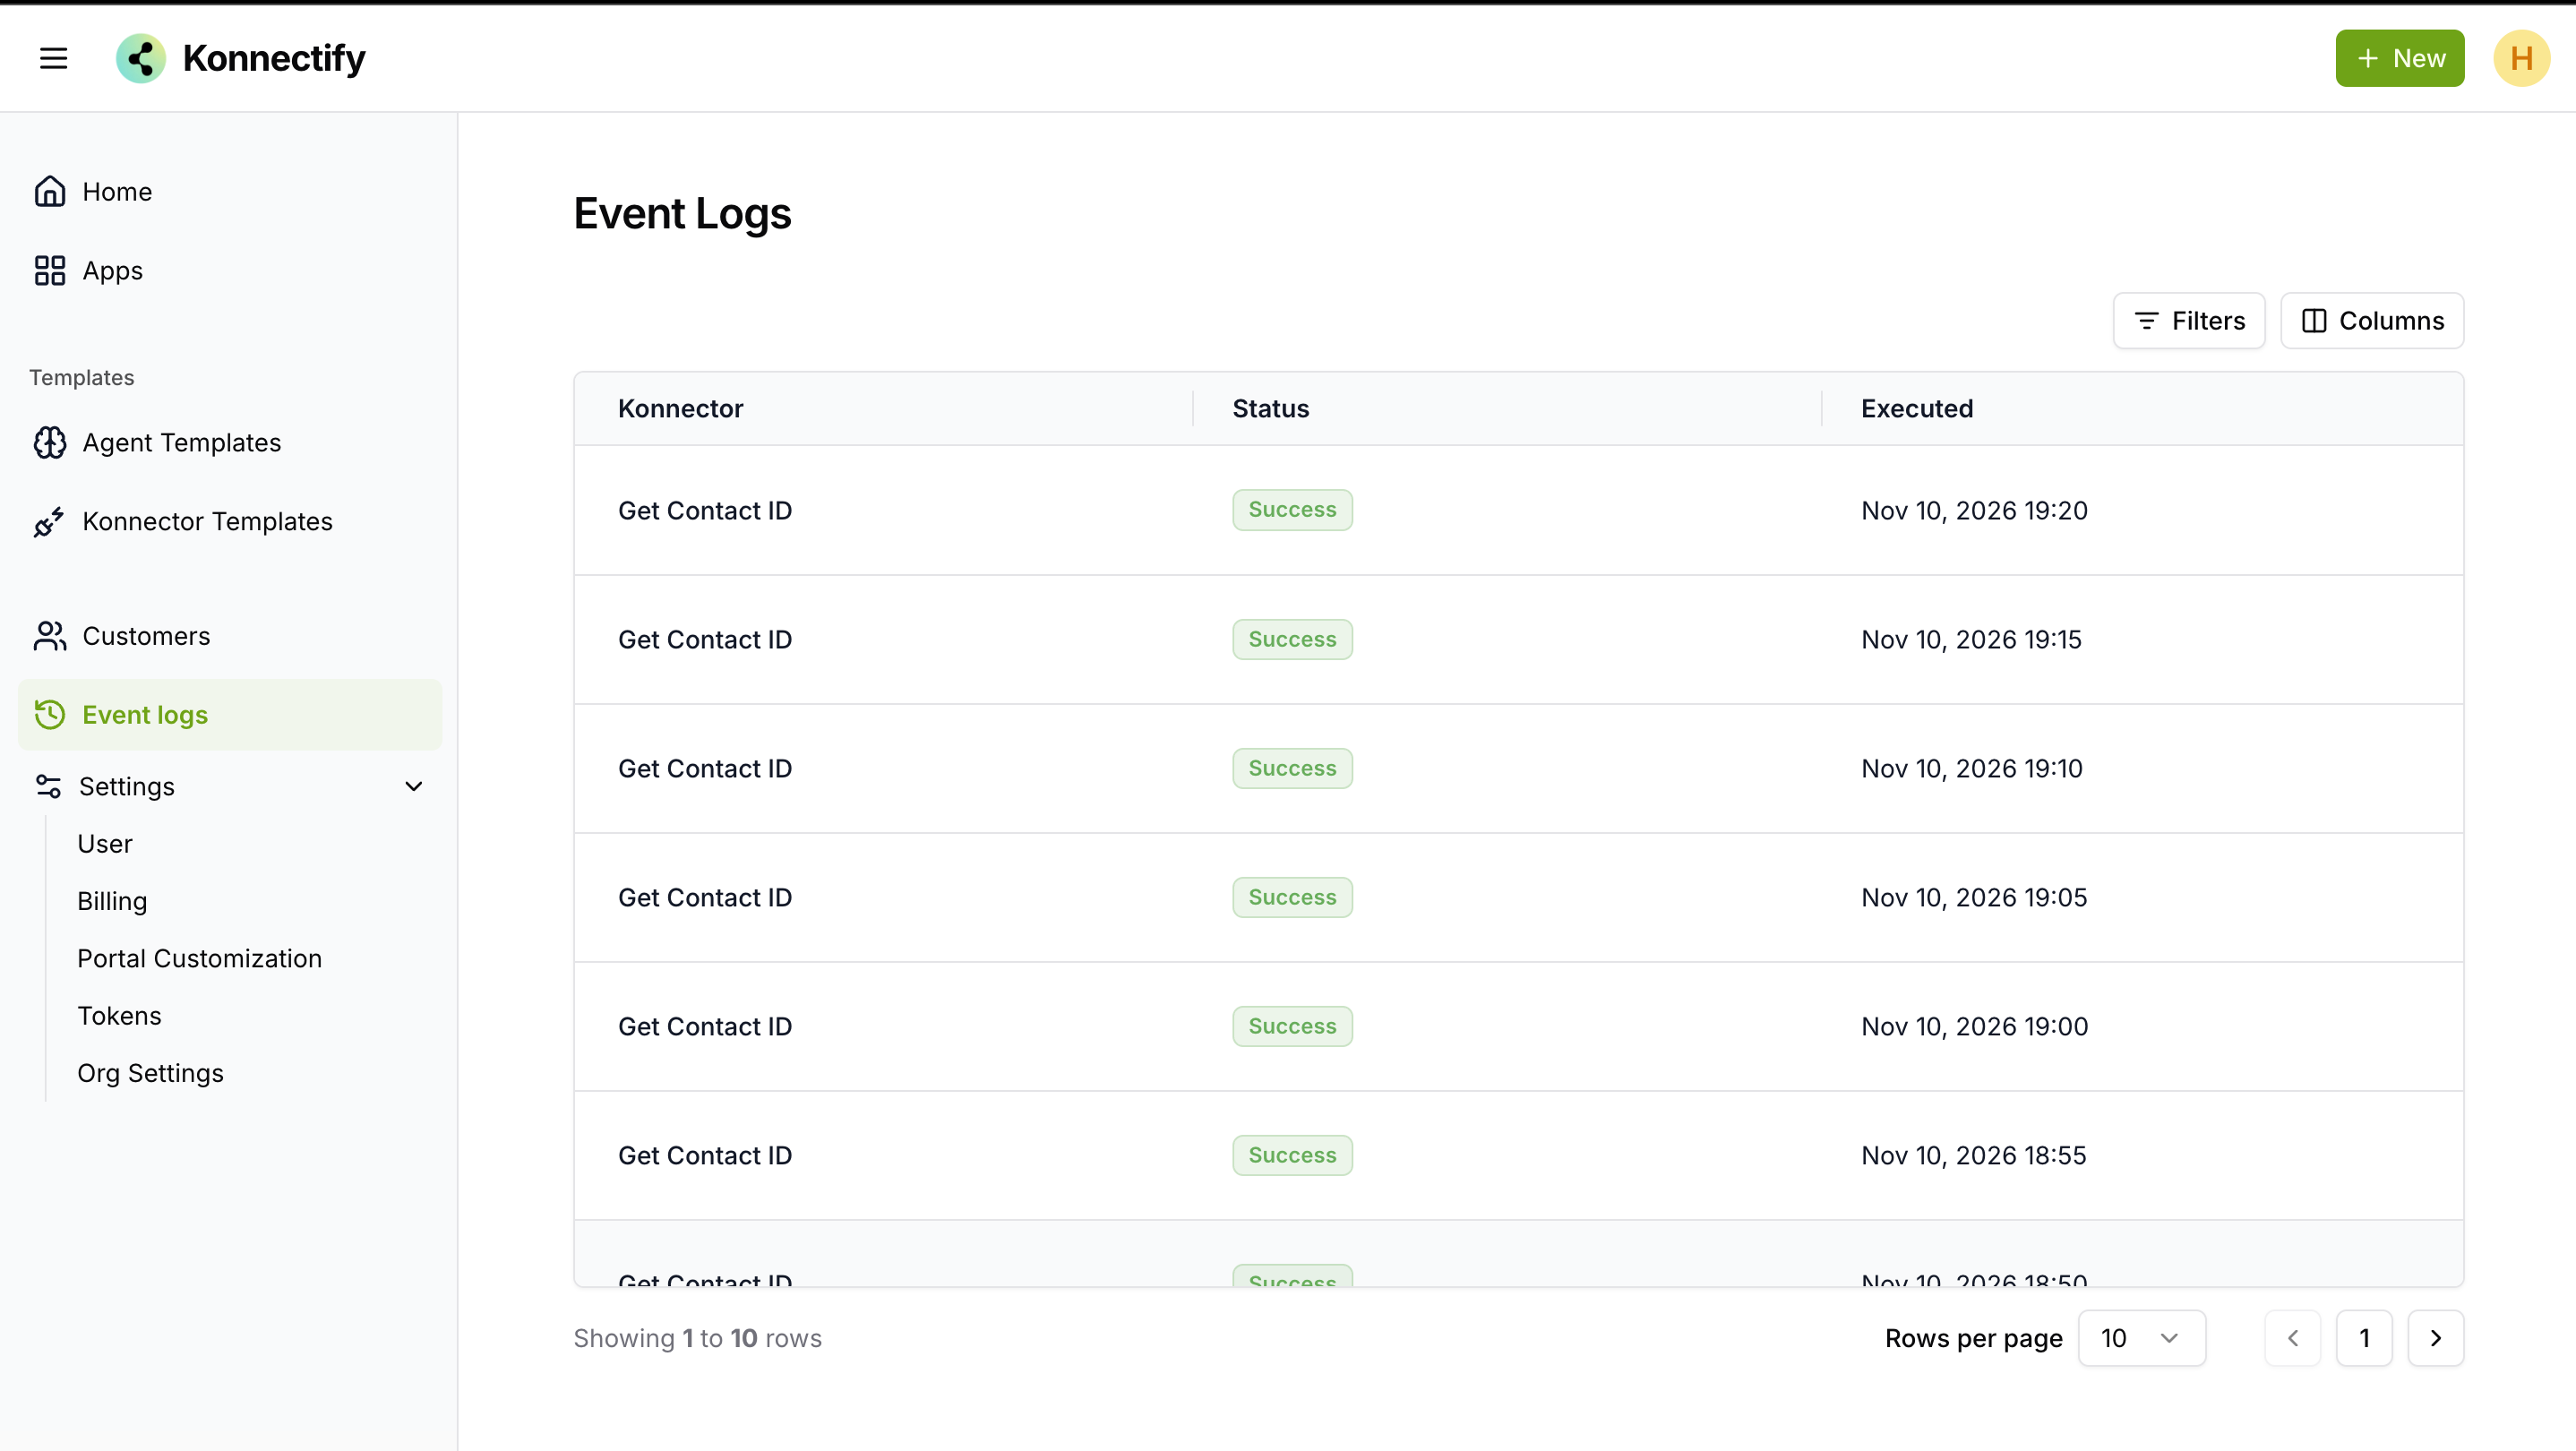
Event logs
Review execution history, check successful and failed runs, and inspect failure details.
Settings
Manage the KOMP account and organization configuration:
- Users: View user details.
- Billing: Check plan and task usage.
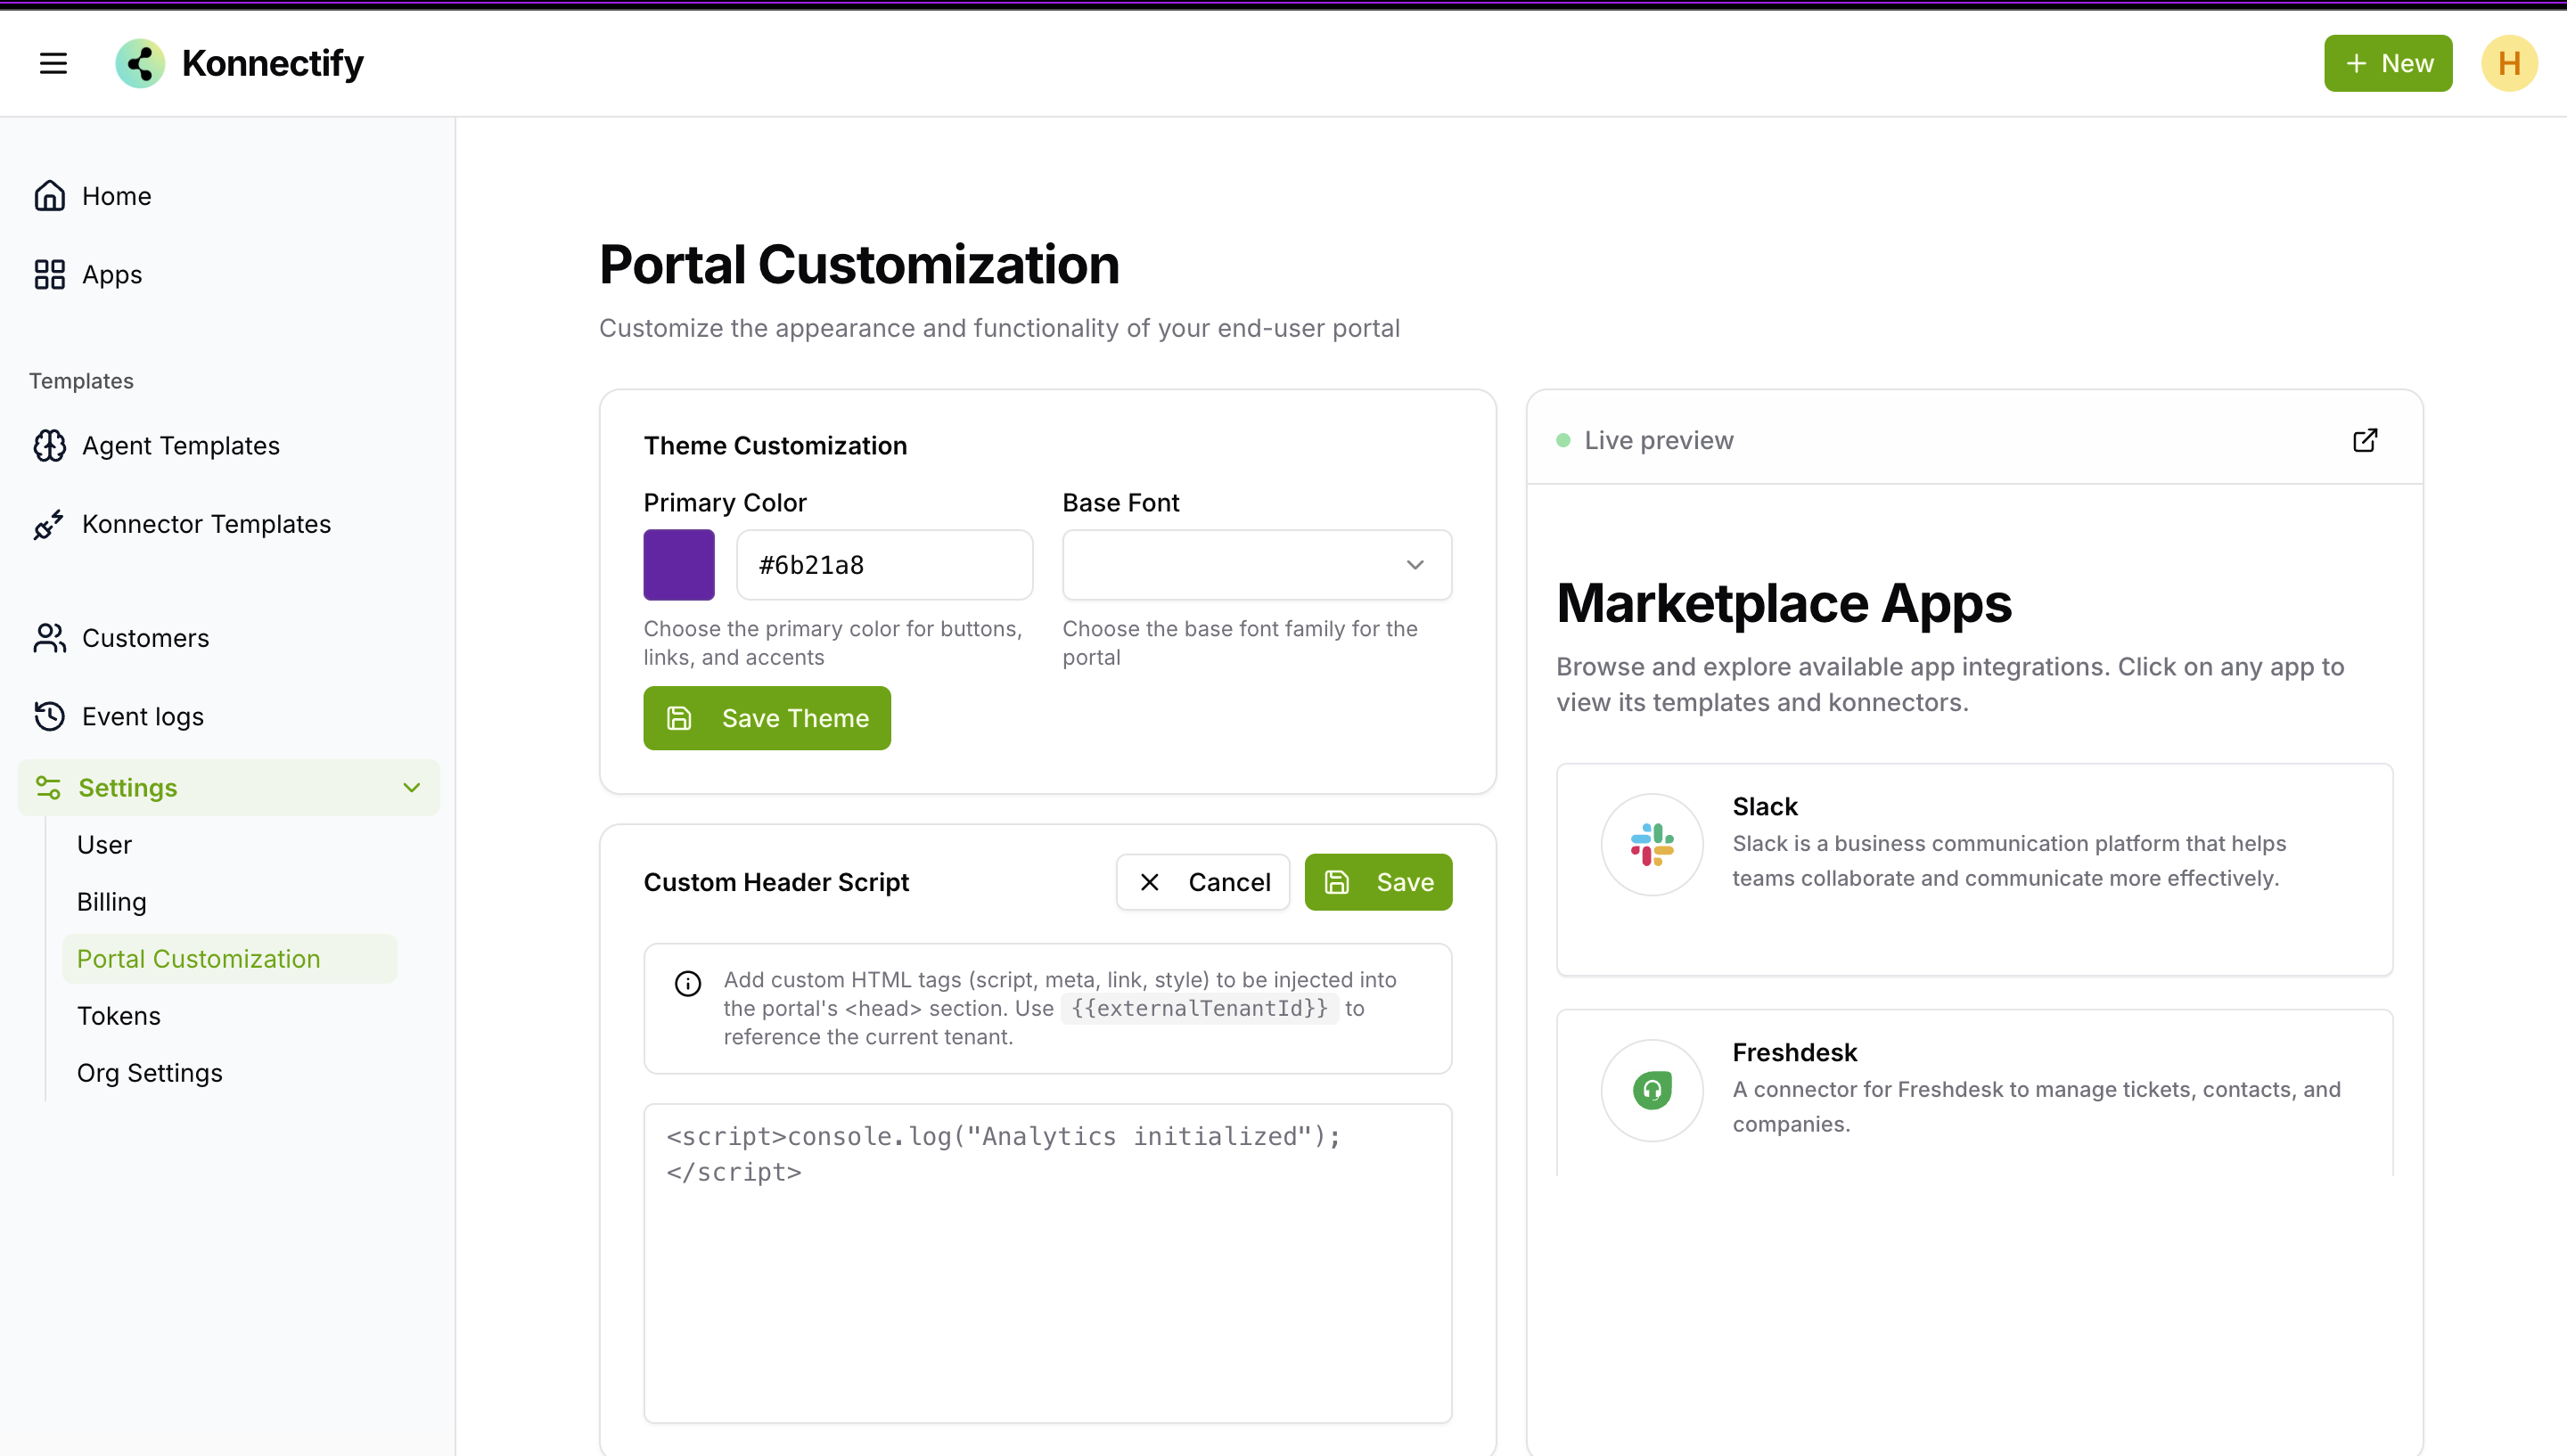
- Portal customization: Set the customer portal’s appearance.
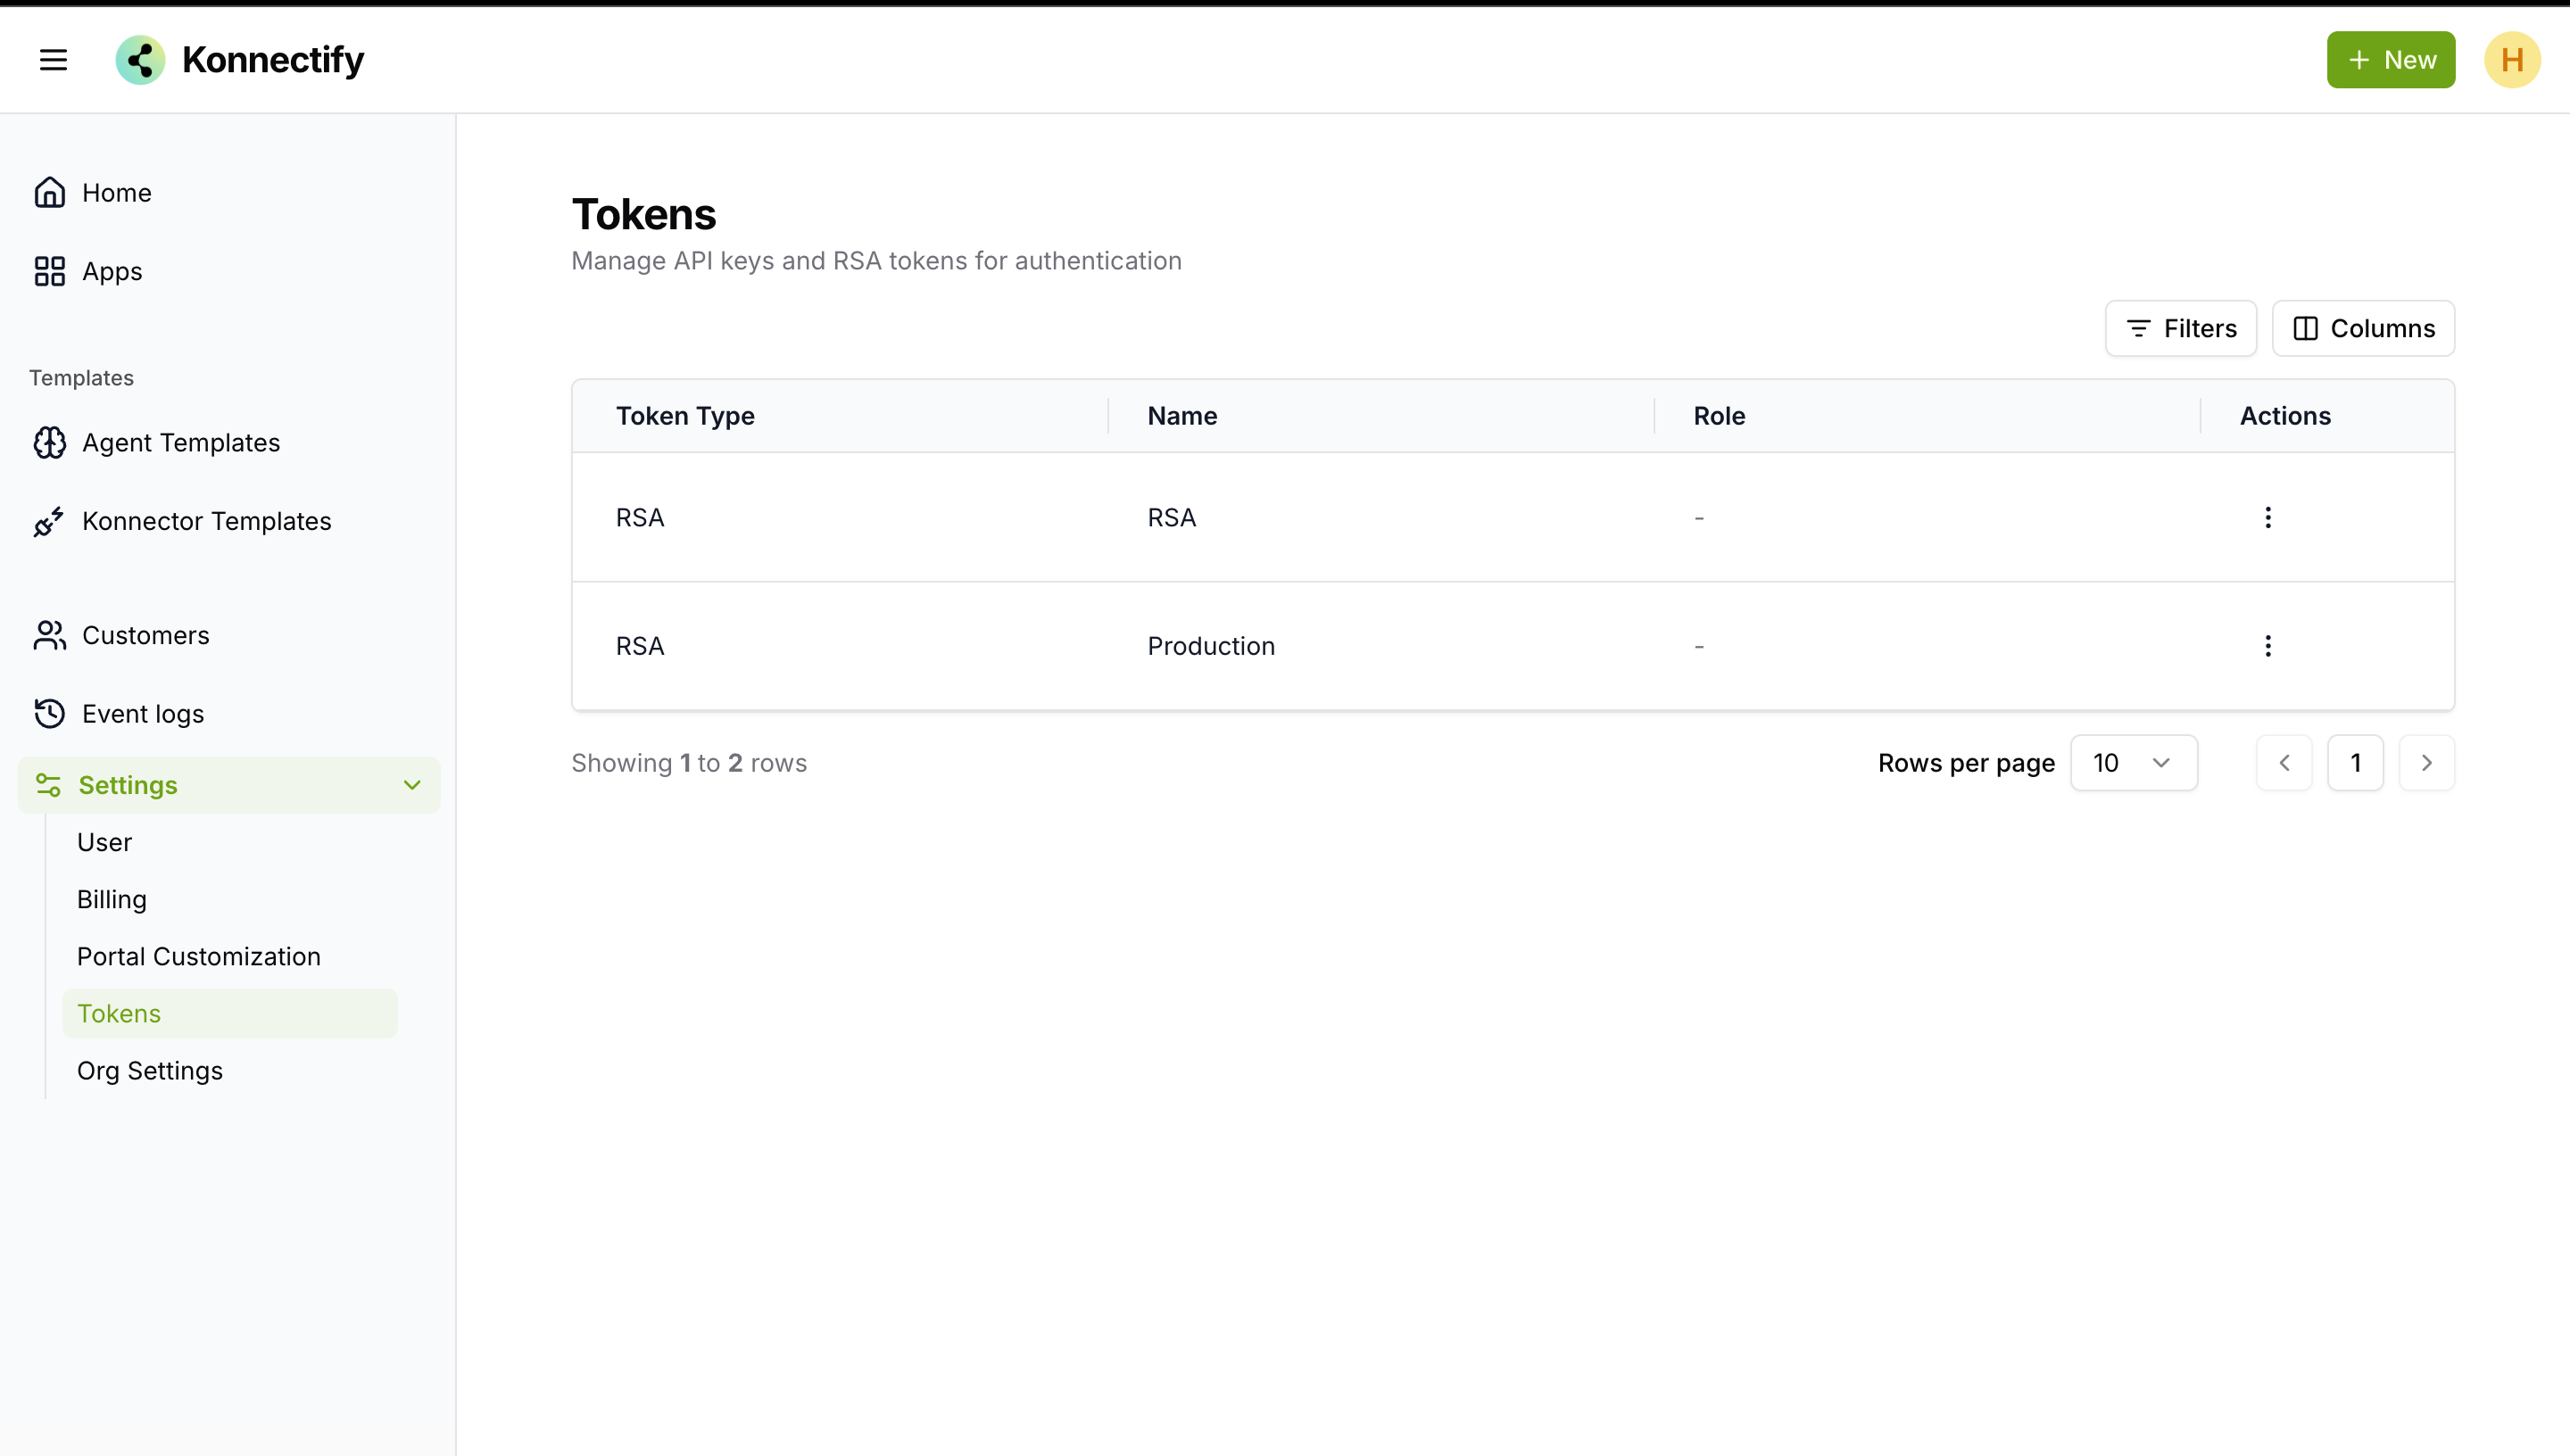
- Tokens: View created tokens.
- Org settings: Edit the primary app and customer previews.
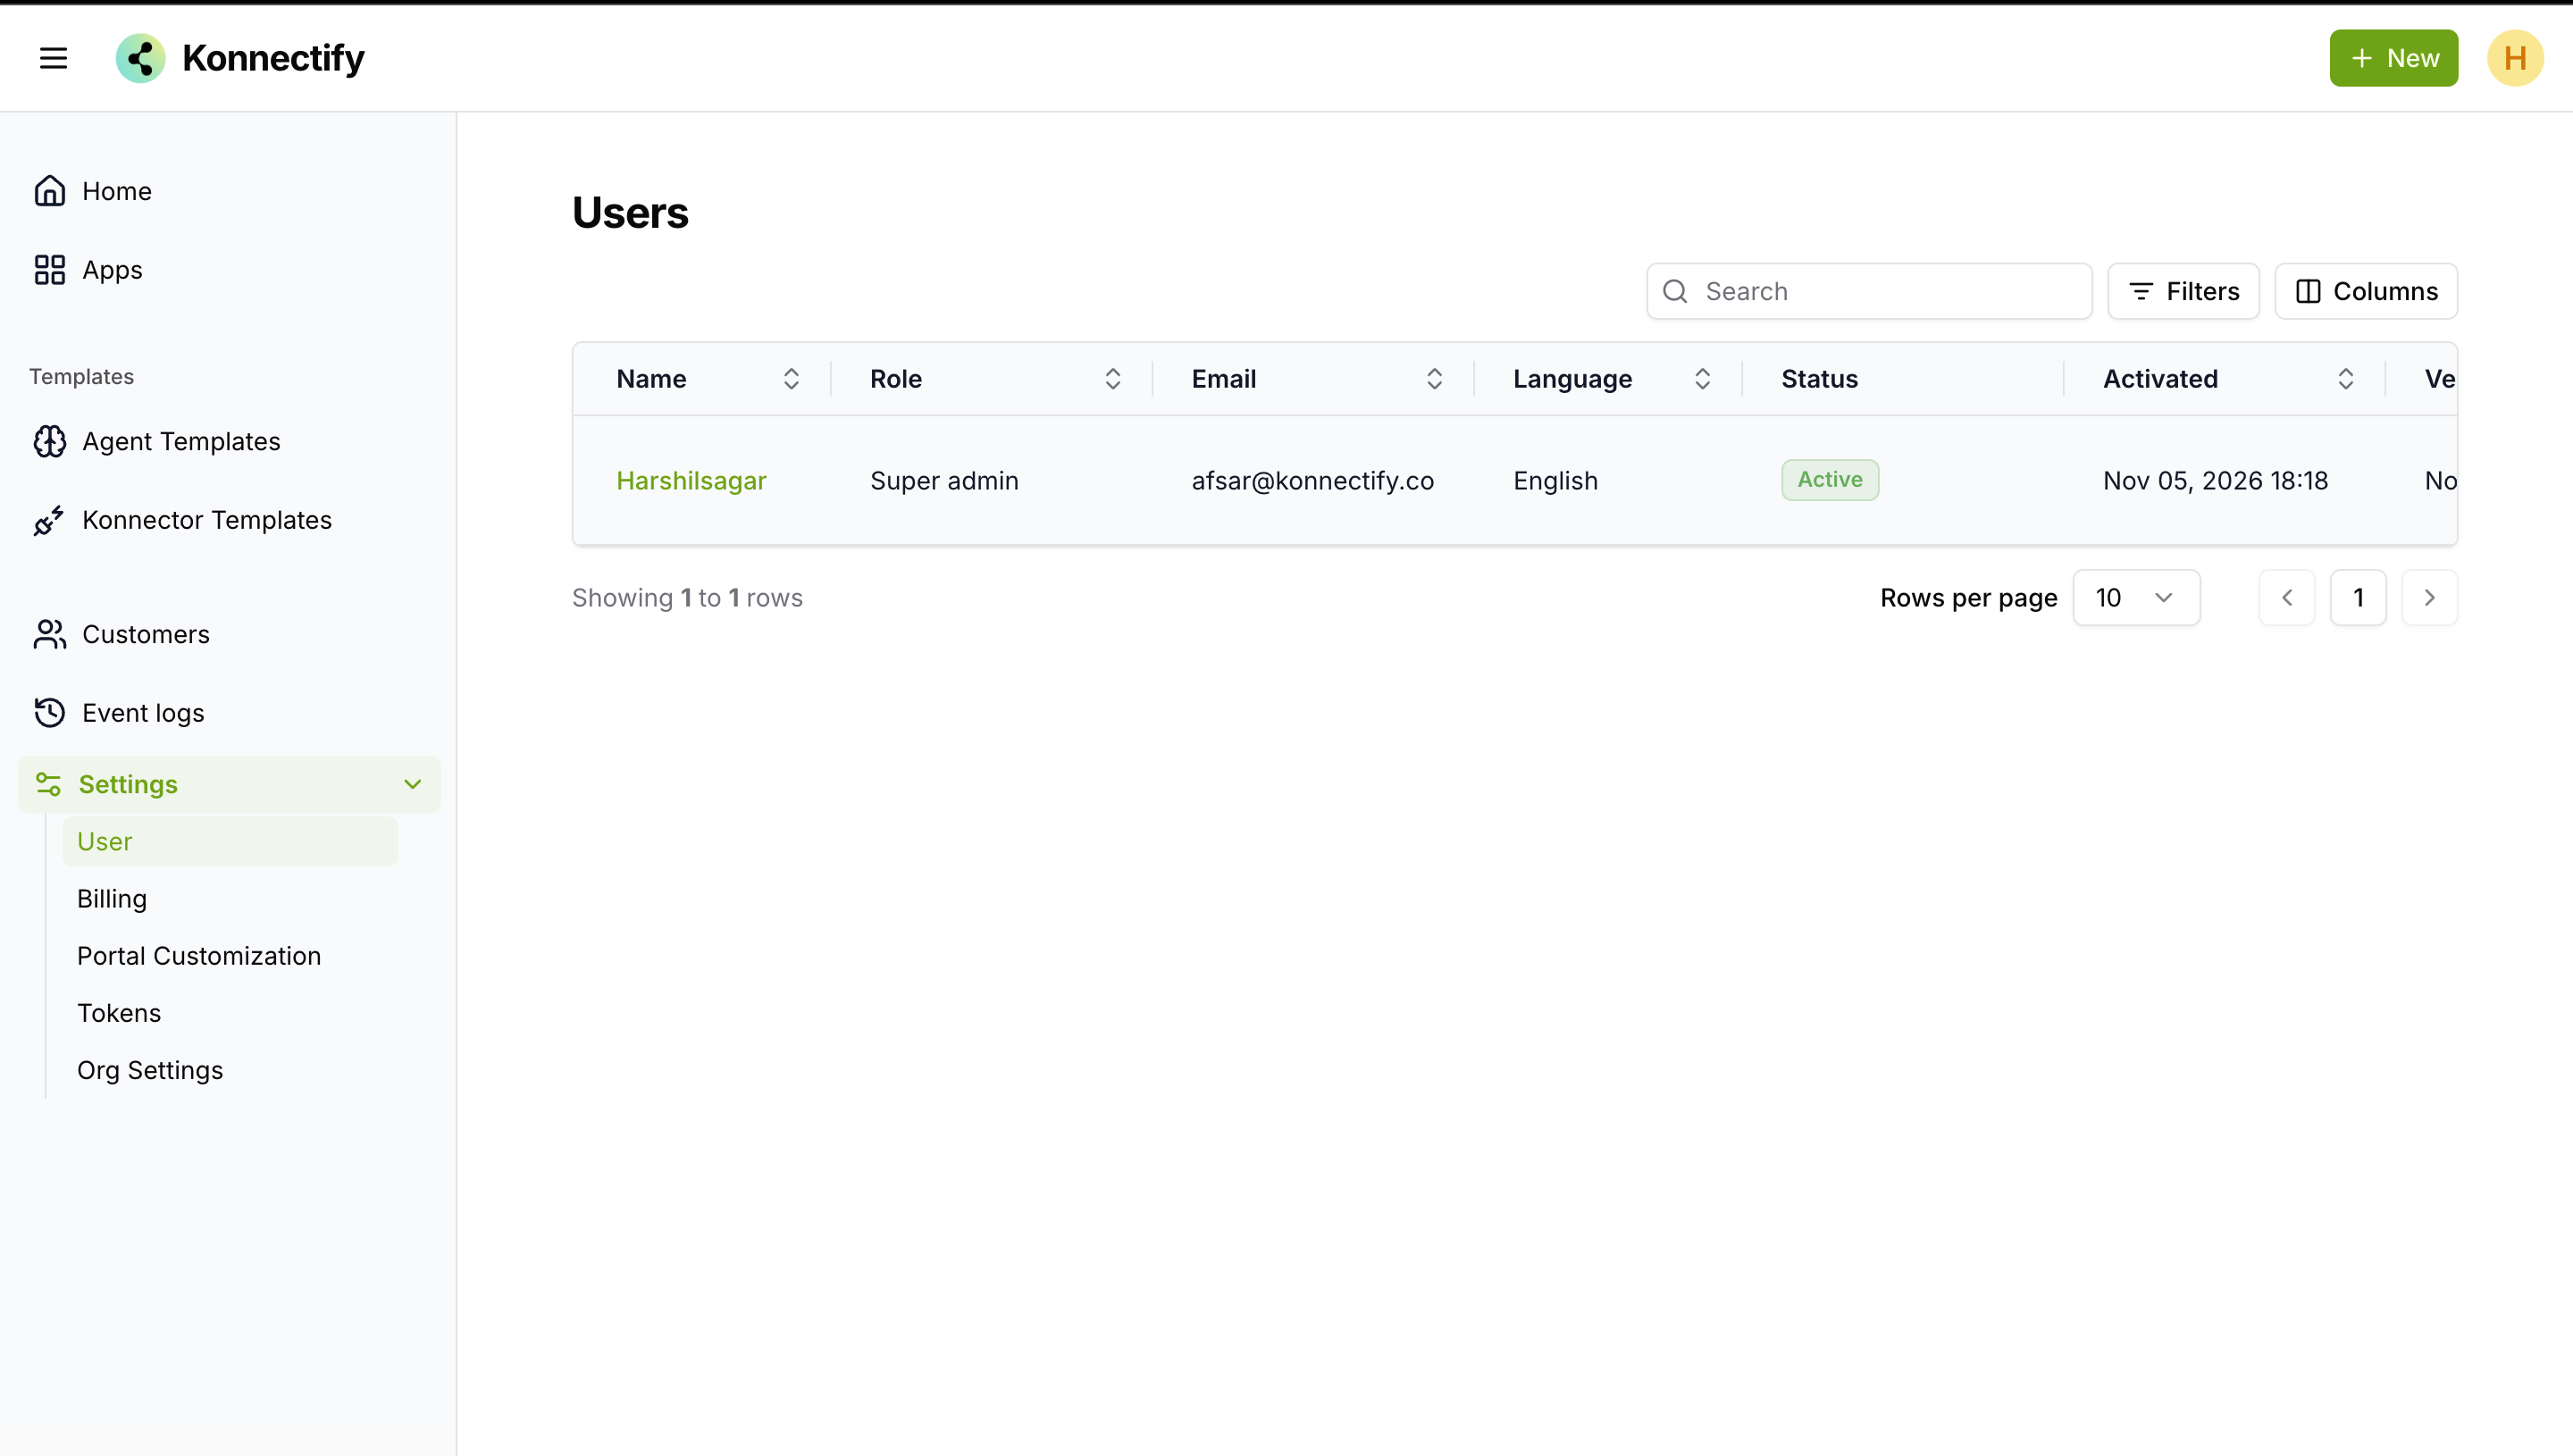
Users
View users and their account details.
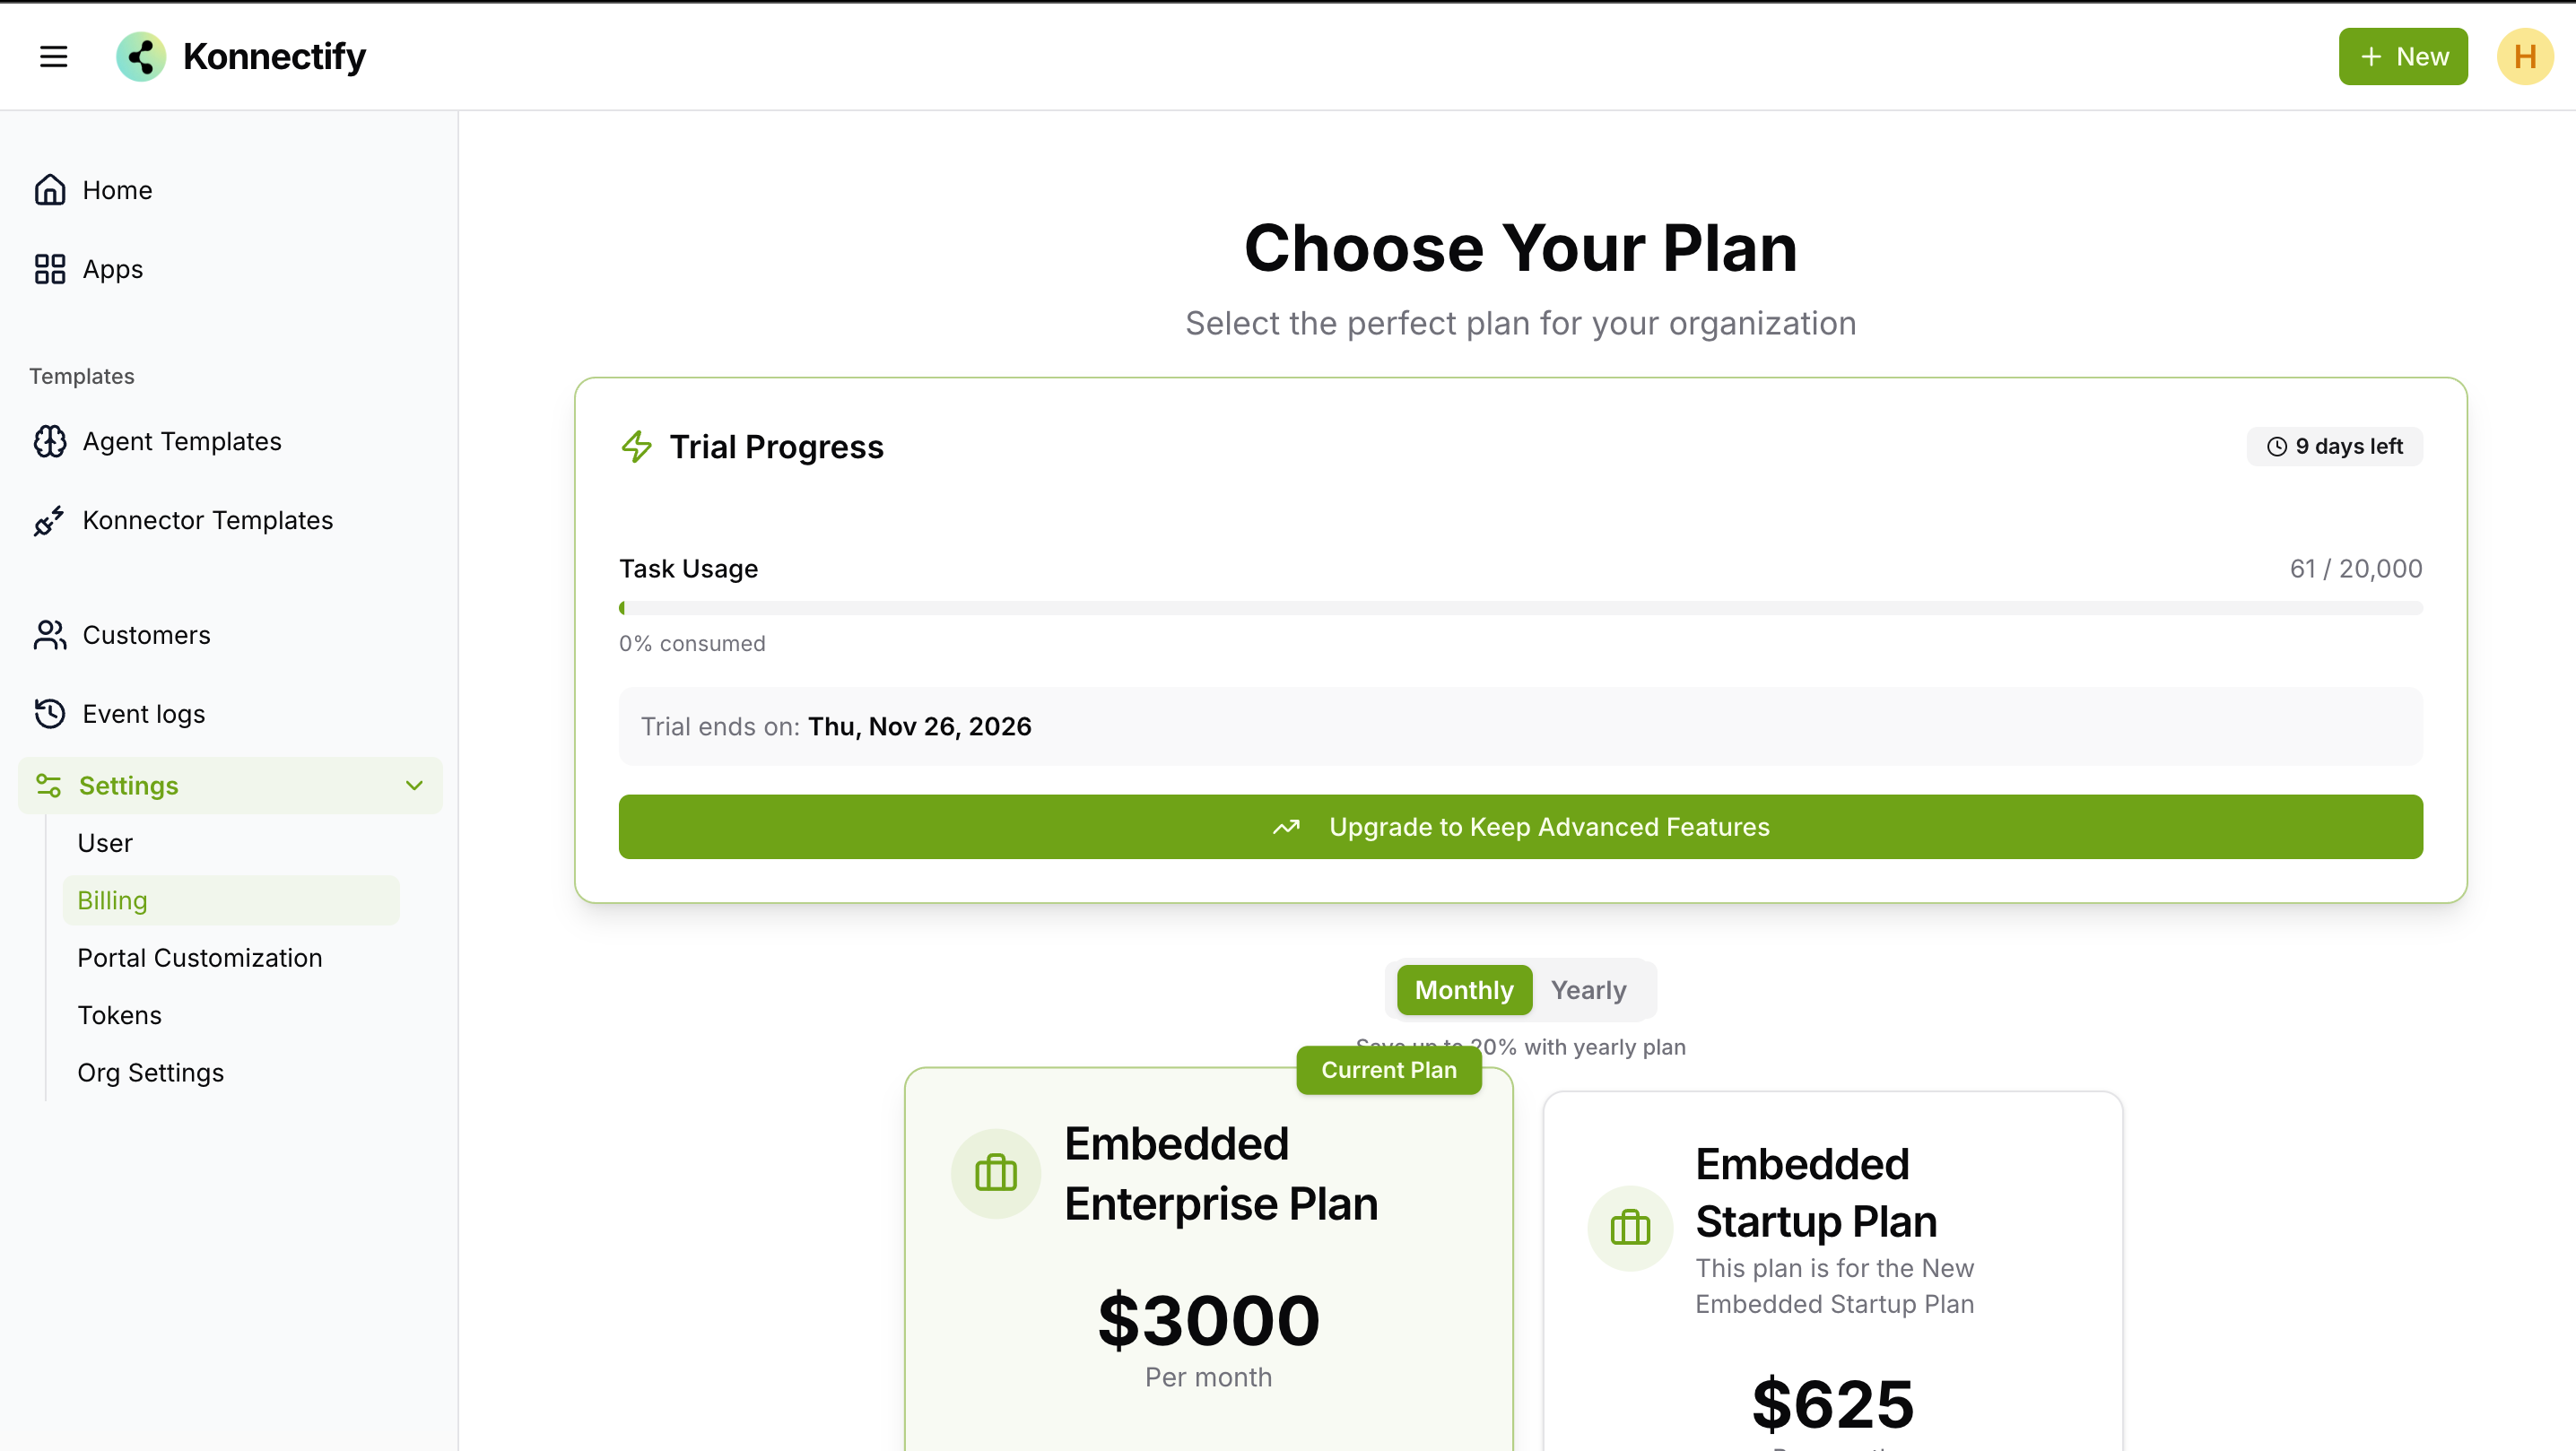
Billing
Review the current plan, task usage, and available plans.
Portal customization
Configure how the KOMP portal looks for your customers.
Tokens
View the tokens created for the account.
How to Use KOMP
Follow these steps to publish an integration and give your customers access to the KOMP v3 portal.
1. Publish an integration
- Create an agent template or Konnector template.
- Publish the template and turn it on so customers can see it.
- Publish KOMP as a marketplace app in your product. Your end users open the app from your product.
2. Create an RSA signing key
In KOMP v3, create an RSA token with POST /settings/tokens:
{ "name": "<token-label>", "tokenType": "RSA" }The create response’s token field contains the private key. Save it immediately in a server-side secret store. The token list/read response contains the public key. Never expose the private key in browser code.
3. Sign a customer JWT on your server
Use the RSA private key to sign a short-lived JWT with RS256. Install jsonwebtoken in your backend. Set projectId and the configured customer externalTenantId; include externalUserId only when you want to map an existing tenant user.
import jwt from 'jsonwebtoken';


const privateKey = process.env.KOMP_RSA_PRIVATE_KEY;
const projectId = process.env.KOMP_PROJECT_ID; // optional only when a default project is configured
const externalTenantId = process.env.KOMP_EXTERNAL_TENANT_ID;
if (!privateKey || !externalTenantId) throw new Error('Configure the private key and external tenant ID');


const now = Math.floor(Date.now() / 1000);
const token = jwt.sign({
 ...(projectId ? { projectId } : {}),
 externalTenantId,
 // externalUserId: 'customer-user-id', // optional: existing mapped user
 iat: now,
 exp: now + 60 * 60 // example: 1 hour
}, privateKey, { algorithm: 'RS256' });


const domain = process.env.KOMP_DOMAIN; // your KOMP subdomain
const customerUrl = `https://domain.konnectifyapp.co/komp/ui/apps?token={encodeURIComponent(token)}`;
Set iat and exp to Unix timestamps in seconds. Use the customer’s configured external tenant ID; do not invent a tenant or project ID.
4. Build and share the customer URL
Replace {domain} with your KOMP subdomain, without https://. Replace {token} with the signed JWT from step 3.
5. Embed the portal (optional)
If you want the portal inside your product, use the same domain and JWT in this iframe:
<iframe src="https://{domain}.konnectifyapp.co/komp/ui/apps?token={token}"
 width="100%" height="600" frameborder="0" allowfullscreen>
</iframe>
Keep the private key on your server, use short-lived JWTs, and redact the token query parameter from access and proxy logs.
Was this article helpful?
That’s Great!
Thank you for your feedback
Sorry! We couldn't be helpful
Thank you for your feedback
Feedback sent
We appreciate your effort and will try to fix the article